Honeywell 14 Installation Manual | Easy Guide
Installing your Honeywell 14 air conditioner can seem like a daunting task, but with the right guidance, it can be a straightforward process.
Whether you’re a seasoned DIYer or a first-time installer, this easy-to-follow guide will walk you through each step of the installation to ensure your unit is set up correctly and efficiently.
From unboxing to final adjustments, we’ll cover everything you need to know to get your Honeywell 14 AC running smoothly. With expert tips and clear instructions, you’ll feel confident throughout the installation process, ensuring optimal performance and comfort in your home.
Let’s dive into the essential steps and make the installation hassle-free!
Understanding the Components
Before jumping into the installation process, it’s essential to familiarize yourself with the components that come with your Honeywell 14 air conditioner. Here’s what you’ll typically find in the box:
Key Components
- Air Conditioner Unit: The main unit that cools the air.
- Remote Control: For adjusting settings from a distance.
- Window Mounting Kit: This kit usually includes brackets and other necessary hardware to secure your unit in place.
- Instruction Manual: Contains detailed installation steps, maintenance tips, and troubleshooting advice.
Understanding these components will help you feel more confident as you begin the installation.
Preparing for Installation
Before installing the unit, preparation is crucial. Here are key steps to take before you begin:
Choose the Right Location
The placement of your air conditioner can greatly affect its efficiency. Consider the following:
- Proximity to a Power Source: Ensure you have an electrical outlet nearby.
- Ventilation: The unit should be positioned to allow for optimal air circulation.
- Accessibility: Make sure it’s easy to access filters and controls for maintenance purposes.
Gather Necessary Tools
You might need some additional tools for a smoother installation, including:
- Screwdrivers (flathead and Phillips)
- A level (to ensure your unit is straight)
- Tape measure
- Utility knife
Having these tools ready will save you time and frustration during the installation process.
Step-by-Step Installation Instructions
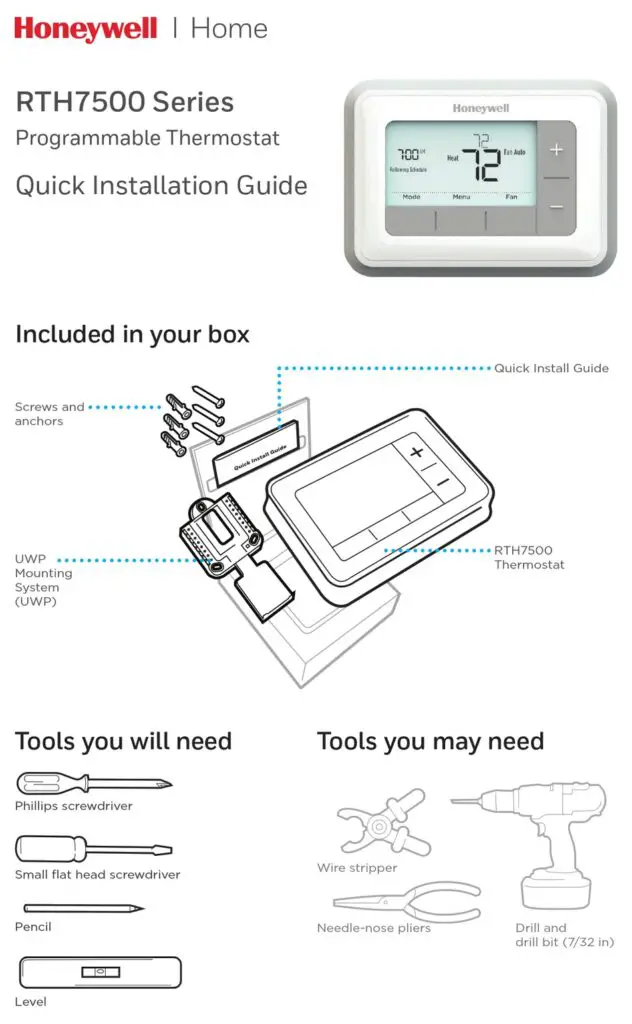
Now, let’s delve into the step-by-step installation process as outlined in the Honeywell 14 installation manual.
Step 1: Prepare the Window
- Check Window Dimensions: Measure the window where you plan to install the AC to make sure it fits.
- Clean the Window Frame: Clear away dust and debris to ensure a solid fit.
Step 2: Assemble the Window Mounting Kit
- Read the Manual: Follow the specific instructions from the manual for assembling the mounting kit.
- Attach Brackets: Use your screws to secure the brackets to the sides of the air conditioner.
Step 3: Position the Unit
- Lift and Slide: With help, lift the air conditioner into the window.
- Ensure Level Placement: Use a level to make sure that the unit is straight; any tilt can affect performance.
Step 4: Secure the Air Conditioner
- Close the Window: Gently close the window against the top of the air conditioner.
- Screw Everything in Place: Use screws to secure the mounting kit in position, ensuring it is stable.
Step 5: Plug the Unit In
- Connect to Power Source: Ensure your outlet is compatible with your air conditioner.
- Turn It On: Test the unit to ensure it operates efficiently.
Step 6: Final Touches and Maintenance
- Check for Gaps: Make sure there are no gaps around the window that could let air escape.
- Regular Maintenance: Refer to the instruction manual for maintenance tips, such as cleaning filters and checking for blockages.
Honeywell 14 Installation Manual (PDF)
Troubleshooting Common Issues
Even with a successful installation, you may encounter some common issues. Here are a few troubleshooting tips:
Air Conditioner Not Cooling
- Check the Settings: Ensure the thermostat is set to the cooling mode.
- Inspect Filters: Dirty filters can restrict airflow. Clean or replace them as needed.
Excess Noise
- Ensure Levelness: If the unit is not level, it may produce more noise.
- Check Mounting: Loose mounting can also cause vibrations. Tighten any loose screws or brackets.
Conclusion
Installing your Honeywell 14 air conditioner may feel like a challenge at first, but with a clear understanding of the components, thorough preparation, and following the steps provided in this guide, you can conquer the installation process with confidence. Remember, regular maintenance is key to ensuring optimal performance for years to come.
If you have any further questions or need help troubleshooting your unit, don’t hesitate to consult the Honeywell customer support or refer back to your installation manual.
Takeaway: A well-installed air conditioner can significantly enhance your comfort during warmer months, so don’t rush through the installation. Take your time to ensure everything is done right!
Additional Resources
For more tips on air conditioner maintenance and energy efficiency, check out these helpful resources:
By following this guide, you’re not just installing an air conditioner; you’re setting yourself up for a cooler, more comfortable living space. Happy cooling!

I’m Alan William’s, the founder of SmartHeatSolution.com. I am from California, USA, I’m passionate about innovative heating technologies and their impact on our homes and businesses. With a background in electrican and home repair , I aim to make smart, energy-efficient heating accessible to everyone. When I’m not writing, I’m likely interested in all the thermostat brands and their new technnology. Thanks for stopping by!

