Heat Pump Emergency Heat Not Working: Troubleshooting and Fixes
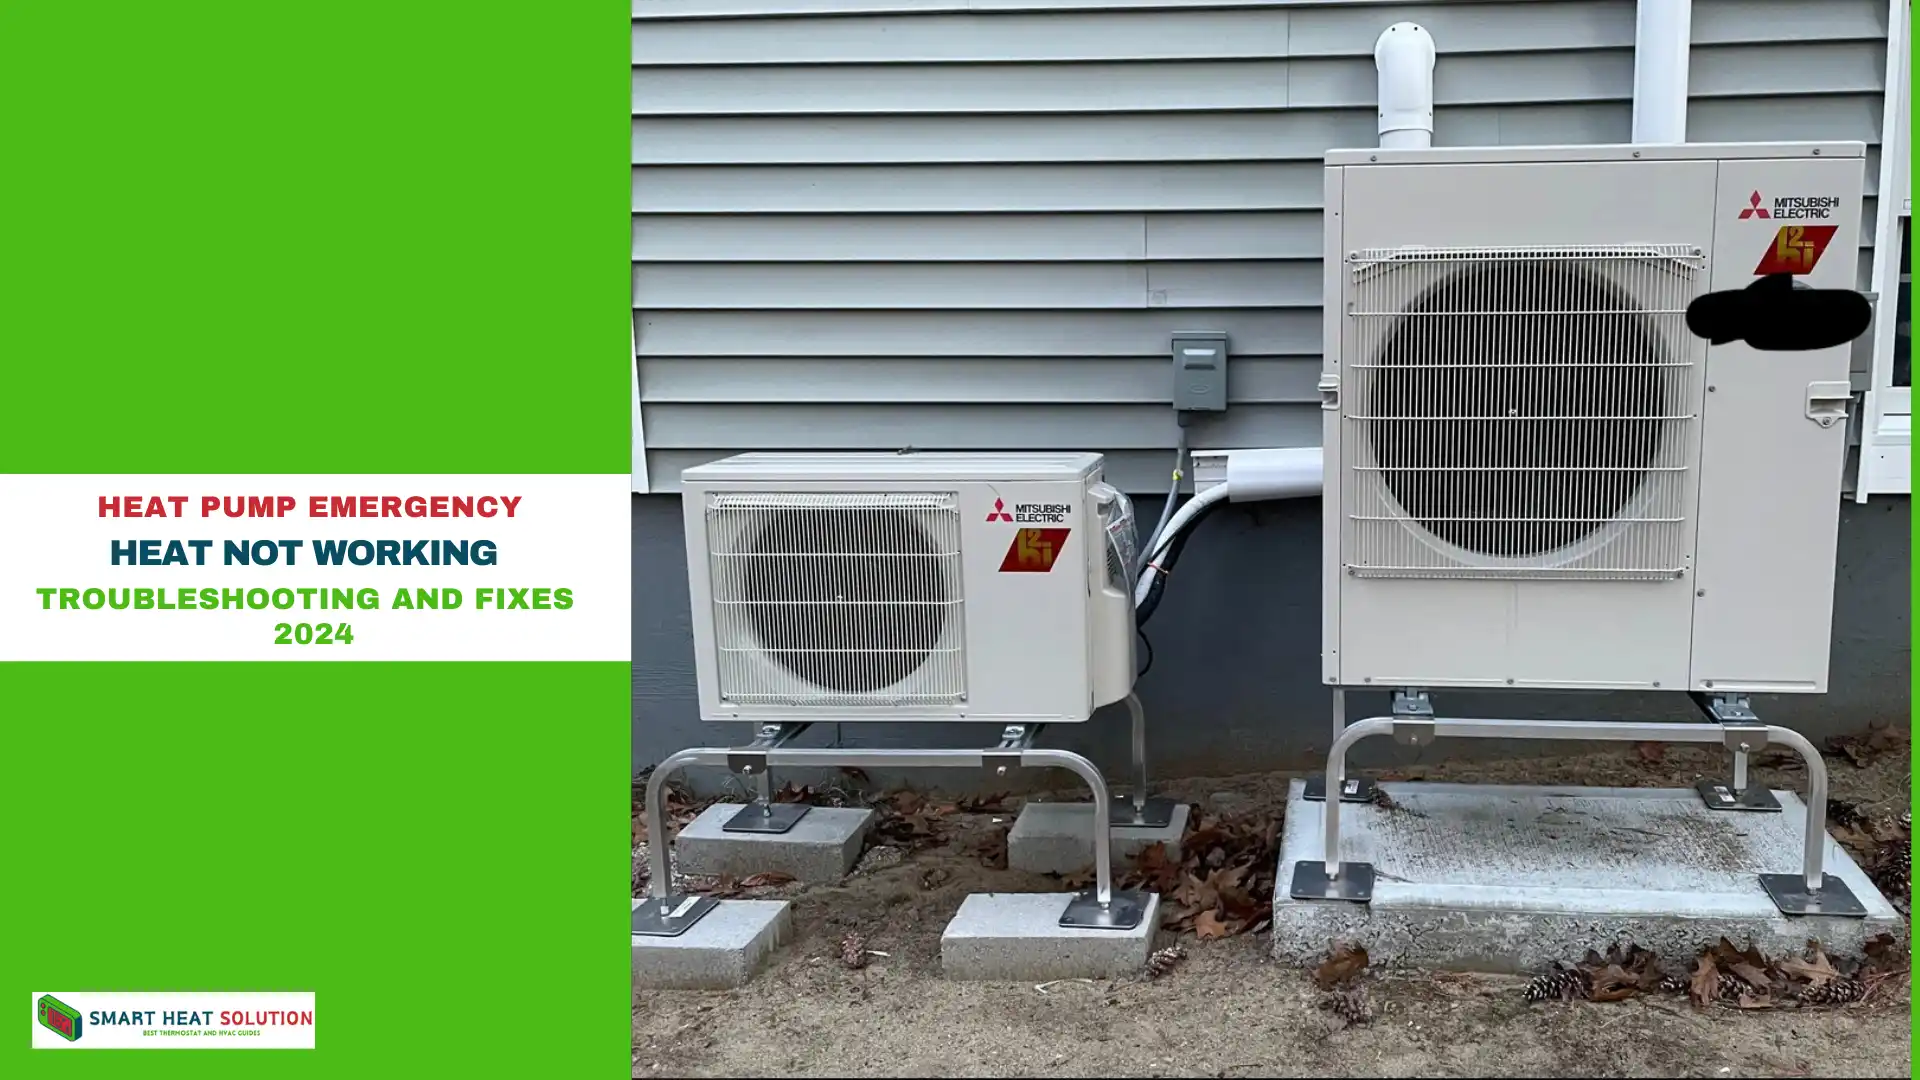
A heat pump’s emergency heat is designed to provide warmth when the primary heating system fails or when outside temperatures are too low for the heat pump to operate efficiently.
However, if the emergency heat is not working, it can leave you in the cold at critical times. Below, we delve into possible reasons and troubleshooting steps to get your heat pump emergency heat back on track.
We’ll cover everything from understanding how emergency heat works to identifying potential issues, repairs, and preventive maintenance.
Understanding Heat Pump Emergency Heat
What Is Emergency Heat on a Heat Pump?
Emergency heat, also known as auxiliary heat, is a secondary heating system in a heat pump that activates when outdoor temperatures drop too low for efficient operation. This backup system usually relies on electric resistance heaters or a gas furnace, ensuring consistent heating regardless of the outdoor climate.
When Does Emergency Heat Activate?
Emergency heat typically activates when:
- Temperatures are extremely low (below 35°F or 2°C).
- The heat pump’s main heating component malfunctions.
- Manual activation by the thermostat for immediate secondary heating.
Using emergency heat can be more energy-intensive, so it’s recommended only when necessary.
Emergency Heat Not Working: Common Causes and How to Fix Them
When your emergency heat isn’t working, it can be a frustrating and uncomfortable experience, especially during cold weather. There are several potential reasons for this issue, ranging from electrical problems to worn-out components. This guide will walk you through the most common causes and offer practical fixes for restoring your emergency heat.
1. Tripped Breaker (40 Amp)
Cause: A tripped breaker can disrupt the power supply to your heating system, especially if your system includes 40 amp breakers for heating strips. When a breaker trips, it’s often due to an electrical overload or short circuit.
Fix:
- Check the breaker panel for any tripped breakers.
- Reset the breaker by flipping it back into the “on” position.
- If the breaker trips again, there may be an underlying issue like faulty wiring or an overload, which may require professional assistance from an electrician.
2. System Misconfiguration or Wiring Issues
Cause: Incorrect system settings or loose, disconnected thermostat wires can prevent your emergency heat from functioning properly.
Fix:
- Verify that your thermostat is configured correctly for your specific system. Many modern thermostats, such as the Nest, allow you to check wire connections directly.
- For Nest thermostats, follow these steps:
- Go to Menu and select it.
- Rotate the ring until you reach Equipment and select it.
- The screen will display the connected wires (e.g., Rc, Y, O/B, G, C, and AUX).
- Ensure that the O/B settings are correctly configured to energize the reversing valve, which switches the heat pump to heating mode.
3. Blown Thermal Fuse
Cause: A thermal fuse acts as a safety measure, cutting off power to the heating strips if they overheat. If the thermal fuse blows, your heat strips will lose power, preventing the emergency heat from turning on.
Fix:
- Locate the thermal fuse and test it using a multimeter to check for continuity.
- If the fuse is blown, replace it with a new one that matches the original specifications.
- Investigate the root cause of the fuse failure, as it could be due to restricted airflow, a malfunctioning sequencer, or other issues that need attention.
4. Malfunctioning Sequencers
Cause: Sequencers control the order in which heating elements in your emergency heat system activate. If the sequencer is defective, the heating elements may not turn on as they should.
Fix:
- If the sequencers are faulty, they will need to be replaced.
- It’s important to ensure the sequencers are properly installed and connected to avoid further issues.
5. Aged or Burnt-Out Heat Strips
Cause: Over time, heat strips can wear out, become corroded, or burn out. This can prevent the system from generating heat, even if everything else appears to be functioning correctly.
Fix:
- Use a multimeter to check the resistance of the heat strips. A working strip should show around 15 ohms of resistance, while a faulty one will show close to 0 ohms.
- If you find that the heat strips are burnt out or damaged, replace them with new ones.
6. Thermostat Malfunctions
A malfunctioning thermostat can fail to trigger emergency heat when needed. Potential problems include:
- Incorrect settings: Ensure the thermostat is set to “Emergency Heat.”
- Thermostat batteries: Dead or low batteries can prevent it from functioning correctly.
- Calibration issues: An incorrectly calibrated thermostat may not register the correct temperature to activate emergency heat.
How to Fix Thermostat Issues
- Check settings: Confirm that “Emergency Heat” is selected on the thermostat.
- Replace batteries: Replace thermostat batteries to rule out power issues.
- Recalibrate: Some thermostats require manual calibration to improve accuracy; refer to the user manual for instructions.
7. Defective Heat Strips
Heat strips are electric resistance heaters that provide warmth when the main heat pump cannot. If these are defective, emergency heat won’t function properly. Look out for:
- Worn-out coils: Regular usage can cause wear, reducing heating capability.
- Loose or disconnected wiring: Faulty connections prevent heat strip activation.
- Blown fuses: A blown fuse in the heat strip can cause it to fail completely.
Fixing Heat Strip Issues
- Inspect wiring: Check for any loose connections or disconnected wires.
- Test for continuity: Using a multimeter, test heat strips for continuity. Replace faulty strips if necessary.
- Replace blown fuses: Ensure fuses are replaced with the correct type specified in the system manual.
8. Issues With the Control Board
The control board in the heat pump manages when to activate the emergency heat. If it malfunctions, the emergency heat won’t engage even if required. Signs of control board issues include:
- System not responding to thermostat signals.
- Random shut-offs or failure to activate heating components.
Control Board Troubleshooting
- Inspect for visible damage: Burnt components or damaged wiring are signs of a faulty control board.
- Reset the control board: In some cases, a simple reset might resolve minor glitches.
- Consult a technician: Control board issues may require professional intervention for repairs or replacement.
9. Low Refrigerant Levels
Low refrigerant can affect heat transfer and limit the heat pump’s ability to switch between modes effectively. This often results in the system struggling to maintain consistent heating.
Refilling Refrigerant
- Check for leaks: Low refrigerant is usually due to leaks. Inspect the system for visible signs, such as oily spots around tubing.
- Contact a professional: Refrigerant handling requires a licensed technician to ensure compliance with environmental standards.
10. Broken Reversing Valve
The reversing valve controls the direction of refrigerant flow, enabling the system to switch between heating and cooling. If it’s stuck or broken, the heat pump may fail to engage the emergency heat.
Reversing Valve Fix
- Inspect for visible damage.
- Replace faulty valve if it’s stuck or does not respond to switching. This often requires professional handling.
11. Blower Motor Problems
If the blower motor isn’t working, the heat will not circulate through the home, making the emergency heat seem inactive.
Blower Motor Troubleshooting
- Listen for unusual noises: Grinding or squealing may indicate motor issues.
- Inspect fan blades and wiring: Ensure there are no obstructions or loose connections.
- Test with a multimeter: A faulty motor requires replacement if it fails continuity tests.
Preventive Maintenance for Emergency Heat Reliability
Maintaining the components that power your emergency heat can prevent many common issues. Follow these preventive tips to ensure your emergency heat operates when you need it most.
- Regular Thermostat Checks
- Calibrate the thermostat yearly.
- Replace batteries as needed.
- Inspect Heat Strips Annually
- Check for wear on coils.
- Test continuity and replace fuses.
- Professional Control Board Inspection
- Hire a technician to inspect the control board and test connections.
- Check Refrigerant Levels
- Low refrigerant levels should be refilled by a licensed HVAC technician.
- Reversing Valve Maintenance
- Inspect for any mechanical issues or wear that might hinder its function.
- Monthly Circuit Breaker Checks
- Ensure the breaker hasn’t tripped and reset if necessary.
Conclusion
A malfunctioning emergency heat setting on your heat pump can leave you vulnerable during extreme weather. By understanding the core components involved and performing regular maintenance, you can prevent many issues.
If troubleshooting steps don’t resolve the problem, consult an HVAC professional to inspect and repair complex issues like refrigerant levels, control board malfunctions, and reversing valve problems. Ensuring these components function optimally guarantees a reliable secondary heating source when you need it most.

I’m Alan William’s, the founder of SmartHeatSolution.com. I am from California, USA, I’m passionate about innovative heating technologies and their impact on our homes and businesses. With a background in electrican and home repair , I aim to make smart, energy-efficient heating accessible to everyone. When I’m not writing, I’m likely interested in all the thermostat brands and their new technnology. Thanks for stopping by!

