How to Change the Battery in Honeywell Thermostat?
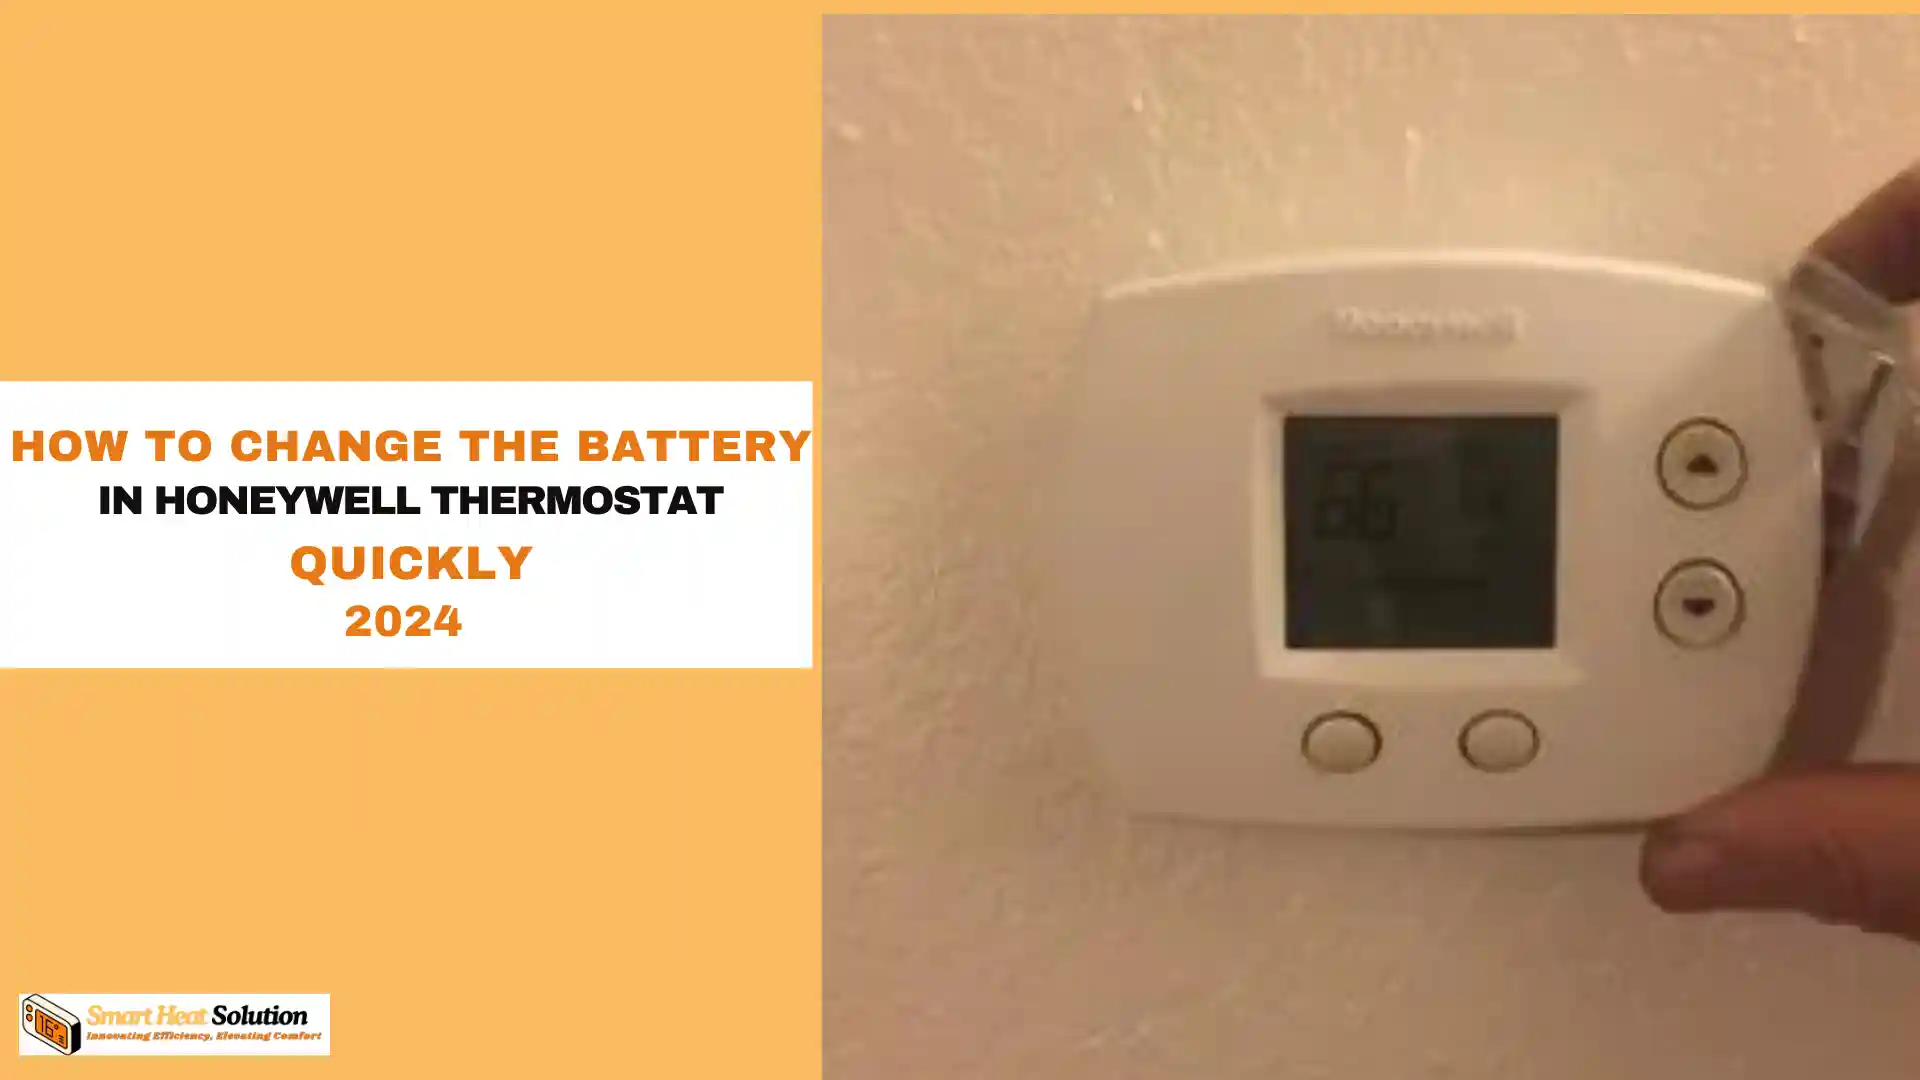
Maintaining a comfortable home environment relies heavily on your thermostat. If you own a Honeywell thermostat, you may encounter the need to change its batteries from time to time.
A low battery can not only affect the thermostat’s performance but can also disrupt your home’s heating and cooling systems.
Fortunately, changing the battery in a Honeywell thermostat is a straightforward process that can be completed quickly.
Below, we provide a detailed step-by-step guide on how to replace the batteries in different Honeywell thermostat models.
Why Change the Batteries?
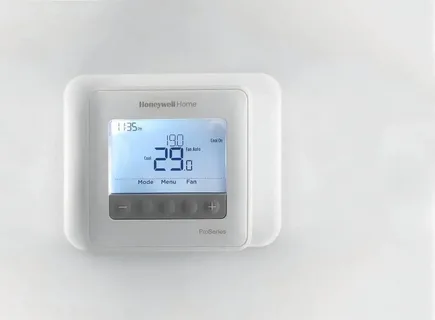
Before we dive into the process, it’s essential to understand why replacing the batteries in your Honeywell thermostat is necessary. Most Honeywell thermostats operate on batteries, and as they deplete, you may notice:
- Temperature discrepancies: The thermostat may fail to accurately detect or maintain the desired temperature.
- System failures: A low battery warning or a complete shutdown can occur, disrupting your heating or cooling.
- Increased energy costs: An inefficient thermostat can lead to increased energy usage and higher bills..
Signs Your Thermostat Needs a Battery Change
Knowing when to change your thermostat battery is key. Here are some signs that it might be time:
Low Battery Warning
Most Honeywell thermostats are equipped with a low battery indicator. This feature typically displays a “Low Battery” message or a battery icon on the thermostat’s screen when the power levels are diminishing. It’s crucial to address this warning promptly to avoid any interruption in your thermostat’s functionality.
Dim or Blank Display
If you notice that your thermostat’s display is becoming increasingly dim or has gone completely blank, it’s a clear sign that the batteries are nearly depleted. In such cases, immediate battery replacement is necessary to restore full functionality.
Erratic Temperature Readings
When batteries are low, your thermostat may struggle to maintain accurate temperature readings. If you observe sudden fluctuations in the displayed temperature or feel that the actual room temperature doesn’t match the thermostat’s reading, it could be due to low battery power.
Identifying Your Honeywell Thermostat Model
Before you replace the batteries, you need to know which Honeywell thermostat model you have. Honeywell offers various models, and each may require a slightly different process for battery replacement. Some of the common Honeywell thermostats are:
- Honeywell 1000 and 2000 series
- Honeywell 4000 series
- Honeywell 5000 and 6000 series
- Honeywell 8000 series
- Honeywell Smart and Wi-Fi series
Check the model number on your thermostat’s packaging, user manual, or look for the model number printed on the back of the thermostat.
Preparing for Battery Replacement
Before you begin the battery replacement process, it’s important to gather the necessary tools and information. This preparation will ensure a smooth and efficient battery change.
Identifying Your Honeywell Thermostat Model
Honeywell offers a wide range of thermostat models, each with its unique design and battery replacement procedure. Locate your thermostat’s model number, which is typically found on the back of the unit or inside the battery compartment. This information will help you determine the specific steps required for your model.
Locate the Batteries
Next, you need to locate the batteries in your Honeywell thermostat. Below is a summary of different Honeywell thermostat series, the types of batteries they use, their locations, and some model examples.
| Series | Battery Type | Location | Model Example |
|---|---|---|---|
| 1000 Series | 2 AAA batteries | Under the cover plate | PRO 1000 Vertical Non-Programmable Thermostat |
| 2000 Series | 2 AAA batteries | Under the cover plate | PRO 2000 Vertical Programmable Thermostat |
| 3000 Series | 2 AA batteries | Under the cover plate | PRO 3000 Programmable Thermostat TH3210D1004 |
| 5000 Series | 2 AA batteries | In the battery compartment | FocusPRO 5000 Non-Programmable Thermostat (TH5110D, TH5320U, TH5220D) |
| 6000 Series | 2 AA batteries | In the battery compartment | Honeywell TH6110D1005/U FocusPRO 6000 Programmable Thermostat |
| 8000 Series | 3 AAA batteries | Under the cover plate | VisionPRO® 8000 WiFi Programmable Thermostat |
If you’re unsure about your Honeywell thermostat model, refer to the user manual, which provides both the model number and instructions for accessing the
Gathering Required Tools
For most Honeywell thermostats, you’ll need the following items:
- New batteries: Check the user manual to find out the type and number of batteries your thermostat requires.
- A small screwdriver (optional): Some models may require a screwdriver to remove the thermostat from the wall.
- Soft cloth or gloves: To avoid leaving fingerprints on the thermostat screen.
Ensure you have these tools on hand before beginning the replacement process.
Step-by-Step Guide to Changing Your Honeywell Thermostat Battery
Now that we’ve covered the preliminaries, let’s proceed with the battery replacement process. Follow these steps carefully to ensure a successful battery change.
Step 1: Power Down the System
For safety reasons, it’s advisable to turn off your HVAC system before changing the thermostat batteries. This can typically be done at your home’s circuit breaker or by switching off the furnace and air conditioning unit.
Step 2: Remove the Thermostat Cover
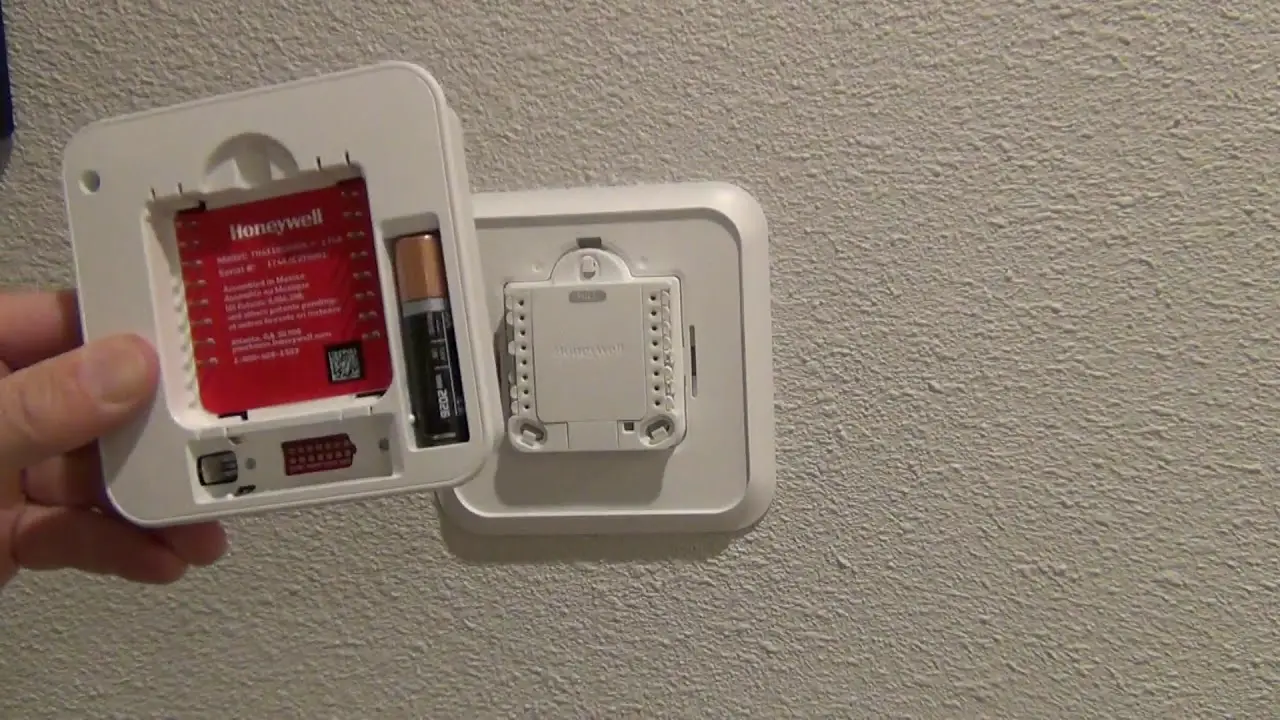
Most Honeywell thermostats have a removable cover that conceals the battery compartment. Gently pull the cover straight out from the base. Some models may require you to press a release button or use a screwdriver to remove the cover.
Step 3: Locate the Battery Compartment
Once the cover is removed, you should be able to see the battery compartment. Take note of the battery orientation to ensure proper installation of the new batteries.
Access the Battery Compartment
Honeywell 1000 and 2000 Series
- Slide the thermostat off its wall plate.
- Turn it over, and you will see the battery compartment on the back.
- Remove the cover to access the batteries.
Honeywell 4000 Series
- Gently pull the thermostat from the wall plate.
- The battery compartment is located at the bottom of the thermostat.
- Slide out the battery compartment to access the batteries.
Honeywell 5000 and 6000 Series
- The thermostat snaps off the wall plate.
- Once removed, you will find the battery compartment on the back.
- Remove the compartment cover to access the batteries.
Honeywell 8000 Series
- Press and release the tabs on the sides of the thermostat to remove it from the wall plate.
- The battery compartment is usually at the back of the device.
- Open the cover to access the batteries.
Honeywell Smart and Wi-Fi Thermostats
- Most smart thermostats do not require battery replacement as they are hardwired into the home’s electrical system. However, some models have backup batteries.
- Locate the battery compartment, usually found on the side or back of the unit.
Step 4: Remove the Old Batteries
Carefully remove the old batteries from the compartment. If they appear corroded or damaged, use a soft cloth to clean the battery contacts gently.
Step 5: Insert New Batteries
Insert the new batteries into the compartment, ensuring that you follow the correct polarity (+ and -) as indicated. Using high-quality, name-brand batteries is recommended for optimal performance and longevity.
Step 6: Reattach the Cover
Once the new batteries are securely in place, carefully reattach the thermostat cover. Ensure it clicks or snaps back into position correctly.
Step 7: Power Up and Test
Turn your HVAC system back on and observe the thermostat display. It should now be fully illuminated and functioning correctly. Take a moment to verify that the temperature readings and programmed settings are accurate.
Diagram: Honeywell 5000 Series Battery Replacement
graph TD
A[Turn Off HVAC System] –> B[Remove Thermostat from Wall Plate]
B –> C[Access Battery Compartment]
C –> D[Remove Old Batteries]
D –> E[Insert New Batteries]
E –> F[Reattach Thermostat to Wall Plate]
F –> G[Turn HVAC System Back On]
Troubleshooting Common Issues
While the battery replacement process is generally straightforward, you may encounter some issues. Here are solutions to common problems:
Thermostat Doesn’t Power On After Battery Change
If your thermostat fails to power on after replacing the batteries, double-check the battery orientation and ensure they are firmly seated in the compartment. If the issue persists, try using a different set of batteries to rule out faulty batteries.
Error Messages or Incorrect Readings
Sometimes, after a battery change, the thermostat may display error messages or incorrect readings. In such cases, try resetting the thermostat by removing the batteries for about 5 minutes before reinserting them. This often resolves any temporary glitches.
Persistent Issues
If you continue to experience problems after changing the batteries and attempting a reset, it may indicate a more serious issue with your thermostat. In such cases, consulting the Honeywell user manual or contacting their customer support for further assistance is advisable.
Thermostat Not Turning On
If your thermostat doesn’t turn on after replacing the batteries, ensure the batteries are installed correctly. Double-check the positive (+) and negative (-) orientations.
Display Still Shows Low Battery Warning
If the low battery warning persists, try resetting the thermostat by removing the batteries again, waiting for a few minutes, and then reinserting them. You might also want to check for any dirt or debris in the battery compartment.
HVAC System Not Responding
If your HVAC system is not responding to the thermostat after the battery replacement, ensure the thermostat is correctly attached to the wall plate. Loose connections can lead to communication issues between the thermostat and the system.
Tips for Maintaining Your Honeywell Thermostat
- Replace batteries annually: Even if the thermostat isn’t showing a low battery warning, it’s good practice to replace the batteries once a year.
- Clean the thermostat regularly: Use a soft cloth to wipe down the thermostat to remove dust and debris.
- Keep the thermostat away from heat sources: Avoid placing the thermostat near appliances or direct sunlight as this can affect its temperature readings.
By following these steps, you’ll ensure your Honeywell thermostat continues to function efficiently and accurately controls your HVAC system.
Table: Honeywell Thermostat Battery Replacement Comparison
| Model | Battery Type | Estimated Battery Life | How to Confirm Battery Level | Additional Features |
|---|---|---|---|---|
| Honeywell RTH9585 | AA | 1-2 years | Low battery warning display | Wi-Fi enabled, touchscreen |
| Honeywell RTH6580 | AAA | 1 year | Dim display | Programmable, large display |
| Honeywell RTH2300 | AA | 1-3 years | Unresponsive thermostat | Basic digital display |
| Nest Learning Thermostat | Built-in Li-ion | 1-2 years | Menu option or mobile app | Smart learning, Wi-Fi, mobile app control |
| Ecobee SmartThermostat | Hardwired (C-wire) | N/A (No batteries) | N/A | Voice control, remote sensors, Wi-Fi |
| Emerson Sensi ST55 | AA | Up to 2 years | Low battery icon on display | Wi-Fi, app control, geofencing |
| Lux TX9600TS | AA | About 1 year | Low battery indicator | Touchscreen, 7-day programming |
“It’s not the years in your life that count, it’s the life in your years.” – Abraham Lincoln
Additional Tips for Battery Maintenance
To prolong the life of your thermostat batteries, consider the following tips:
- Regular Maintenance: Check your thermostat’s battery every few months to see if it needs changing.
- Quality Batteries: Invest in good quality batteries since they tend to last longer.
- Monitor Usage: If your thermostat is working overtime (e.g., in extreme weather), it might drain batteries more quickly.
- Seasonal Changes: Change batteries at the start of each season as a precaution.
FAQs
How often should I change the batteries in my Honeywell thermostat?
It’s recommended to change them at least once a year, but if you notice signs of low battery sooner, it’s best to replace them right away.
What types of batteries do different Honeywell thermostats use?
Most Honeywell thermostats use AA or AAA batteries. Always check your specific model to confirm.
Is it safe to change the battery while the power is on?
While many users change the battery with the power on, turning off the system beforehand is safer, especially for those unfamiliar with electrical devices.
What should I do if my thermostat still doesn’t work after changing the batteries?
If your thermostat doesn’t respond post battery change, double-check the battery orientation and try resetting the thermostat. If issues persist, consult a professional.
Can I use rechargeable batteries in my Honeywell thermostat?
While some people do opt for rechargeable batteries, it’s usually best to stick with alkaline ones to ensure optimal performance and longevity.
Conclusion
Changing the batteries in your Honeywell thermostat is a simple yet crucial maintenance task that ensures the continued efficiency of your home’s climate control system. By following this comprehensive guide, you can confidently perform this task, maintaining your comfort and potentially saving on energy costs. Remember, a well-maintained thermostat is key to a comfortable and energy-efficient home.

I’m Alan William’s, the founder of SmartHeatSolution.com. I am from California, USA, I’m passionate about innovative heating technologies and their impact on our homes and businesses. With a background in electrican and home repair , I aim to make smart, energy-efficient heating accessible to everyone. When I’m not writing, I’m likely interested in all the thermostat brands and their new technnology. Thanks for stopping by!


![Honeywell TH2210DV1006/U PRO 2000 VERTICAL PROGRAMMABLE THERMOSTAT Manual And Installation Guide 20 Honeywell ]PRO 2000 VERTICAL PROGRAMMABLE THERMOSTAT Manual And Installation Guide](https://smartheatsolution.com/wp-content/uploads/2024/09/Honeywell-PRO-2000-VERTICAL-PROGRAMMABLE-THERMOSTAT-Manual-And-Installation-Guide-768x768.jpg)