How to Remove Previous Owner From Nest Thermostat?
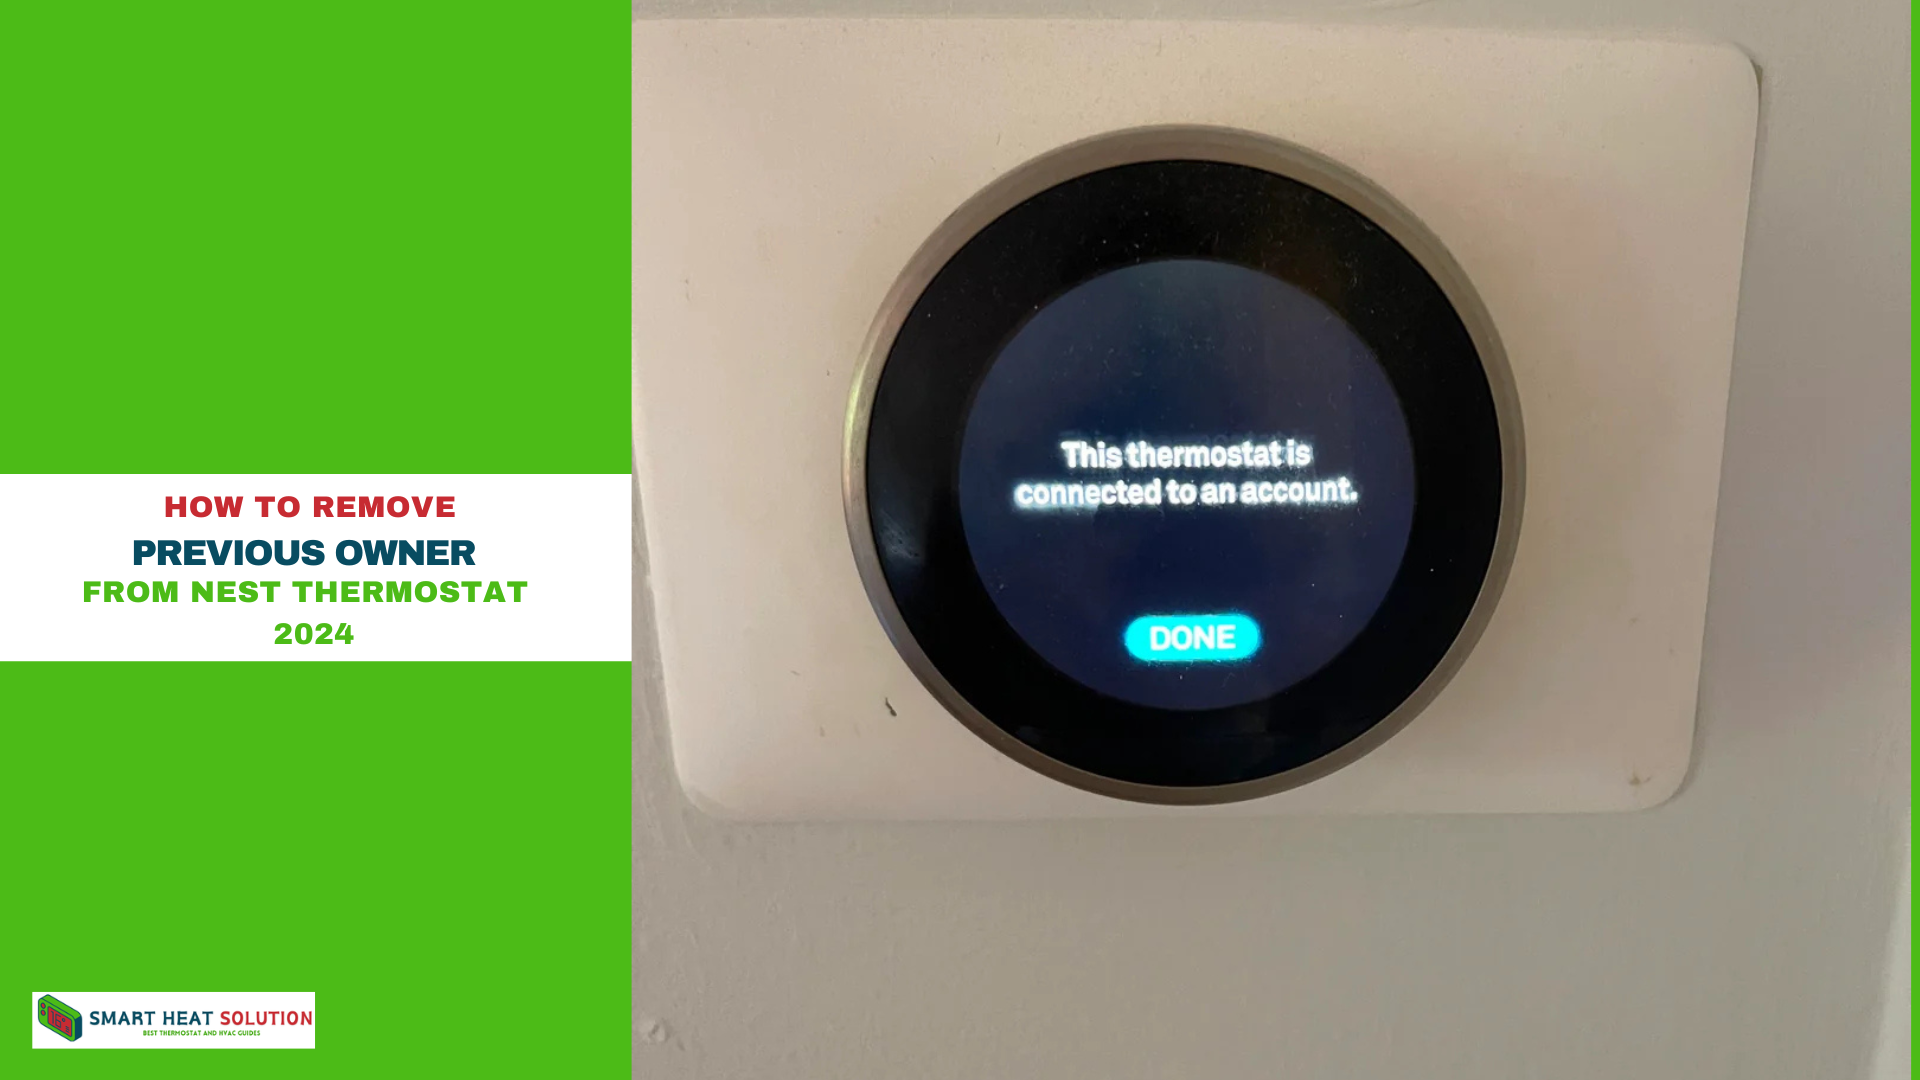
Removing the previous owner’s information from a Nest thermostat is a crucial step if you’ve acquired a pre-owned unit or moved into a home with an existing Nest setup.
Clearing the previous owner’s settings ensures that you can set up and control the device seamlessly through your own Nest account.
This guide provides a detailed, step-by-step approach for removing prior ownership data and setting up your Nest thermostat as a new owner.
Why Remove the Previous Owner from a Nest Thermostat?
When a Nest thermostat retains settings from a previous owner, it can limit your ability to manage the thermostat’s functions.
This may include restricted access to device settings, inability to control the thermostat remotely, and connection issues with your Wi-Fi network. Resetting and removing the previous owner’s information is the only effective way to gain full control.
Steps to Remove the Previous Owner from a Nest Thermostat
To gain control over your Nest thermostat, follow these steps to remove all previous owner data and perform a factory reset.
1. Perform a Factory Reset on the Nest Thermostat
The first step is to reset the device to its original factory settings, which will clear any saved information from previous users.
- Access Settings on the Thermostat:
- On the Nest thermostat, press the thermostat ring to bring up the main menu.
- Scroll to Settings (gear icon) and press the ring to select it.
- Select “Reset”:
- Scroll down to Reset and select it.
- In the Reset menu, choose All Settings. This option will erase all data, including any previous owner’s information.
- Confirm the Factory Reset:
- Follow the on-screen instructions to confirm. The thermostat will restart, and all prior data will be deleted.
After the reset, the Nest thermostat will be in a “factory default” state, ready for a new setup.
2. Remove the Device from the Previous Owner’s Nest Account
If possible, reach out to the previous owner and ask them to remove the device from their Nest account. This step ensures the device can be fully registered to your account without any residual ownership issues.
- Ask the Previous Owner to Open the Nest App:
- They should go to the Nest app on their device.
- In the app, they can access the Settings menu and view all connected Nest devices.
- Select the Thermostat and Remove It:
- From the Settings menu, the previous owner should select the thermostat and choose the option to Remove or Delete Device.
- This action will unlink the thermostat from their account, making it ready for you to add to yours.
3. Set Up Your Nest Thermostat with Your Account
After the factory reset, you can now proceed to set up the Nest thermostat under your own account.
- Download the Nest App:
- If you haven’t already, download the Google Home or Nest app from the App Store (iOS) or Google Play Store (Android).
- Log into Your Google Account:
- Open the app and sign in with your Google account. If you don’t have one, create a new account for free.
- Add the Nest Thermostat:
- In the app, navigate to Add Device and select Nest Thermostat.
- Follow the app’s instructions to complete the setup process. This includes pairing the thermostat to your Wi-Fi network and linking it to your Google account.
Troubleshooting Common Issues When Removing Previous Owner from Nest Thermostat
Device Won’t Reset Properly
If the device fails to perform a factory reset, check the power connection and ensure the device is receiving sufficient power.
Error Adding Thermostat to New Account
If you encounter an error when attempting to add the thermostat to your account, it may indicate that the device is still linked to the previous owner’s account. Confirm with the previous owner that they’ve removed it from their account completely.
Wi-Fi Connection Issues
After resetting, you may experience Wi-Fi connection issues if the device settings were not cleared correctly. Reboot your Wi-Fi router and ensure the Nest thermostat is within range.
Frequently Asked Questions (FAQ)
Can I Remove a Previous Owner from the Nest Thermostat Without Their Help?
Yes, performing a factory reset directly on the Nest thermostat removes stored information, including the previous owner’s data. However, if the thermostat is still linked to the previous owner’s account, you may experience setup issues. In such cases, contacting the previous owner to remove it from their account can prevent complications.
Do I Need an Internet Connection to Reset the Thermostat?
No, you don’t need an active internet connection to reset the thermostat to factory settings. However, for adding the thermostat to your account, connecting it to Wi-Fi is necessary.
How Do I Know If the Device Is Reset Successfully?
After resetting, the device will display a welcome screen or prompt you to start the setup process as if it were new out of the box. This indicates a successful reset.
Final Thoughts
Resetting and removing the previous owner’s information from your Nest thermostat is straightforward yet essential for full control over the device. By following these steps, you ensure your thermostat is linked to your account, allowing secure, remote access to temperature settings, energy reports, and integration with other smart home devices. Taking these actions secures the device and maximizes the benefits of your smart thermostat.
More resources: https://support.google.com/googlenest/answer/9247296?hl=en-GB

I’m Alan William’s, the founder of SmartHeatSolution.com. I am from California, USA, I’m passionate about innovative heating technologies and their impact on our homes and businesses. With a background in electrican and home repair , I aim to make smart, energy-efficient heating accessible to everyone. When I’m not writing, I’m likely interested in all the thermostat brands and their new technnology. Thanks for stopping by!

