How to Upgrade Your Old Trane Thermostat: Expert Guide
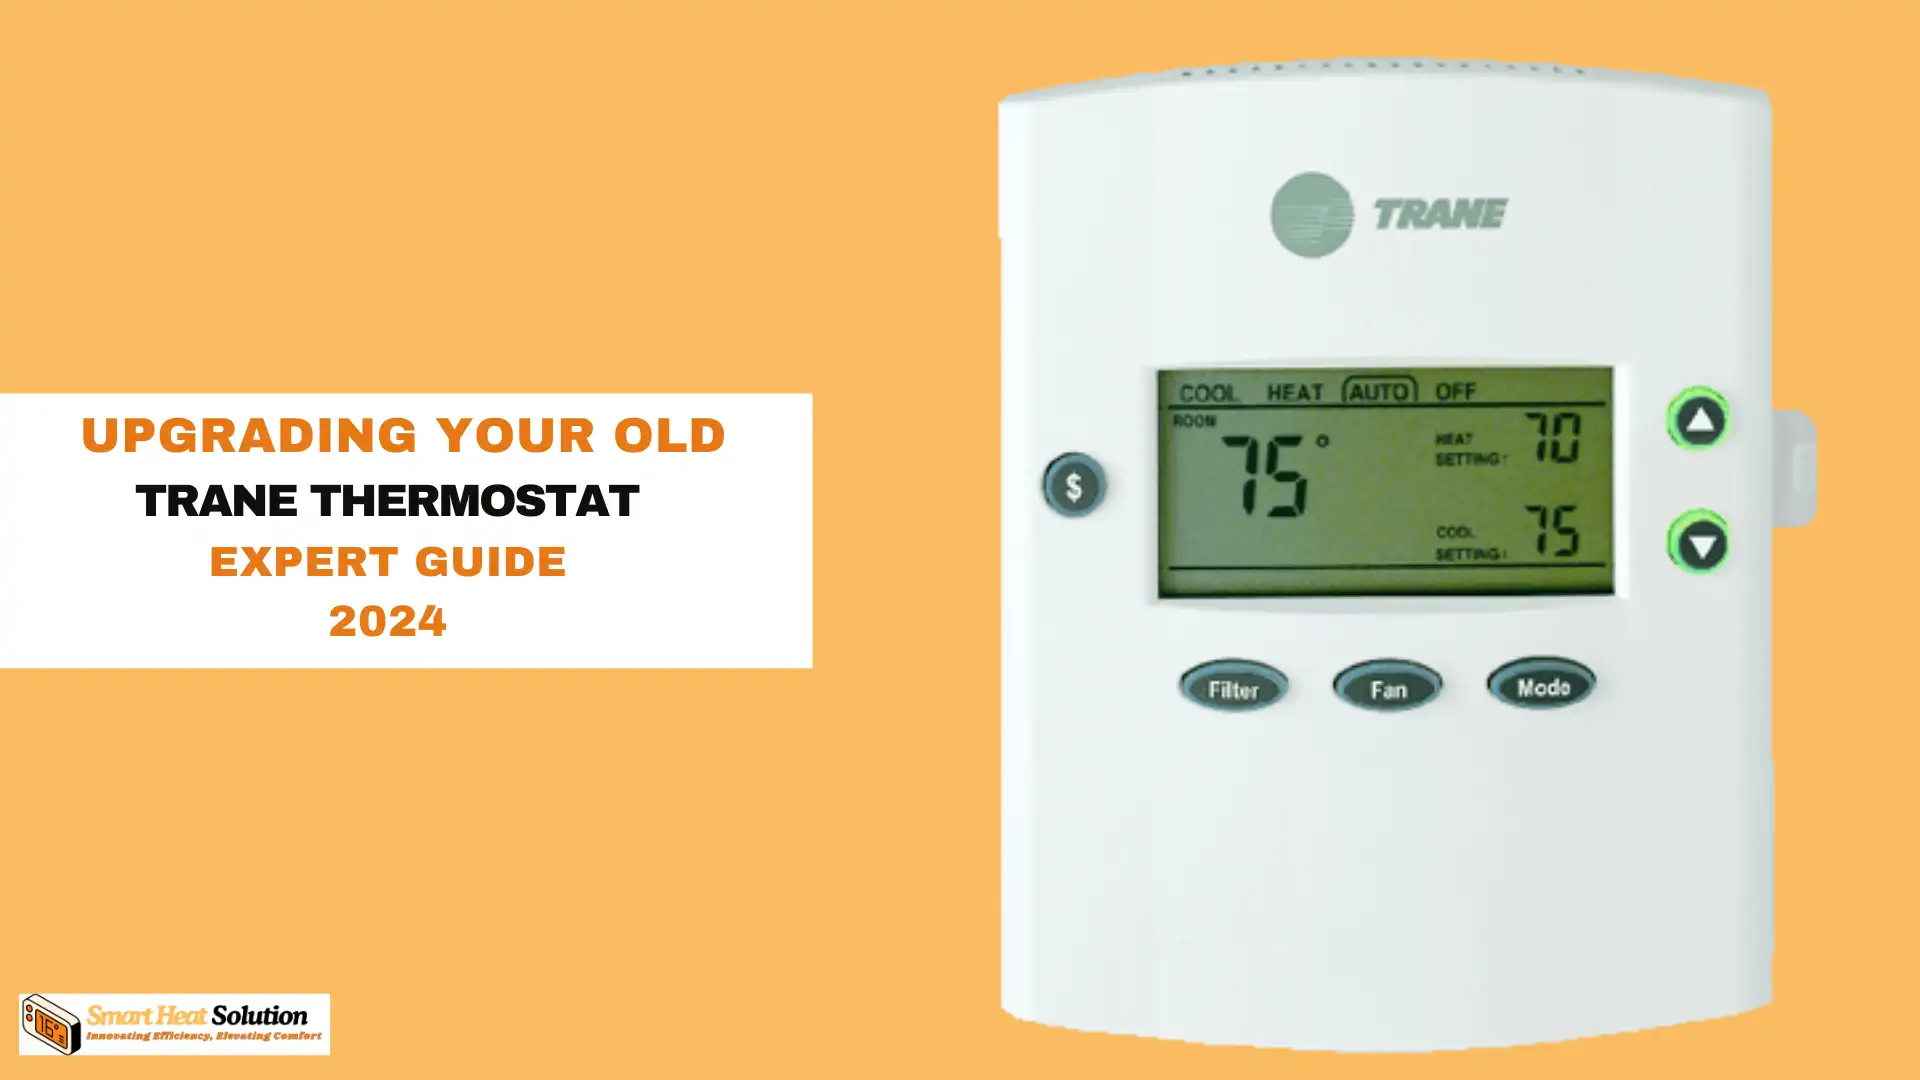
Upgrading your old Trane thermostat might seem like a daunting task, but trust me, it’s easier than you think.
In fact, according to a recent survey, nearly 70% of homeowners who upgraded their thermostats reported significant improvements in energy efficiency and comfort.
I remember when I first decided to make the switch; I was overwhelmed by the options and the technical jargon. However, with a bit of research and some hands-on experience, I discovered that upgrading your thermostat can be a straightforward and rewarding project.
In this guide, I’ll walk you through the entire process, step by step, so you can enjoy the benefits of a modern, efficient thermostat without any hassle.
Why Upgrade Your Thermostat?

First things first, why should you even bother upgrading? Well, new thermostats are way more energy-efficient. You can program them to set different temperatures throughout the day.
Some even let you control them from your phone. Imagine adjusting your home’s temperature while you’re still in bed or on your way back from work. It’s a game-changer.
What You’ll Need
Before we start, gather these tools:
- Your new thermostat (make sure it’s compatible with your Trane system)
- A screwdriver (usually Phillips)
- Wire stripper (if needed)
- Tape measure
- Pencil
- New thermostat wiring labels (if not included with your new thermostat)
Safety First
Alright, safety talk. Before you touch any wires, turn off the power to your HVAC system at the circuit breaker. Trust me, you don’t want to mess with live wires. Once the power is off, you can open your thermostat’s cover to access the wiring.
Understanding Your Old Trane Thermostat Wiring
Now, let’s talk wires. You’ll probably see a bunch of colored wires connected to your old thermostat. Here’s what they usually mean:
- R (Red) – Power for the thermostat
- W (White) – Heat (or auxiliary heat)
- Y (Yellow) – Cooling
- G (Green) – Fan
- C (Blue) – Common wire (in some systems)
Removing Your Old Thermostat
- Turn off the power at the circuit breaker. Seriously, don’t skip this step.
- Remove the cover of your old thermostat.
- Take a picture of the wiring configuration. This will be your cheat sheet later.
- Carefully remove the wires from the old thermostat, one at a time. Straighten them out and label them with the corresponding terminal (R, W, Y, G, C) using a marker or tape.
- Remove the old thermostat from the wall. You might need to unscrew it or break the adhesive seal.
Quick Tip: When I was doing this at my aunt’s place, I forgot to take a picture of the wiring. Big mistake. I had to call her to ask what went where. Save yourself the trouble and snap that pic.
Installing Your New Thermostat
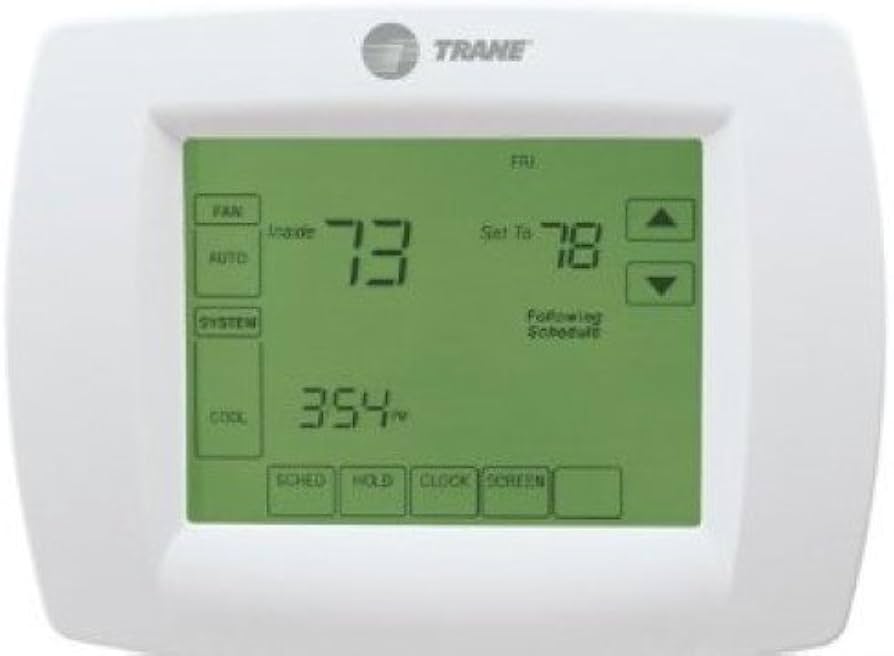
Measure and Mark
Before you install your new thermostat, measure the distance between the terminals. The new thermostat should be the same size or slightly smaller than the old one. Mark the location on the wall where you’ll install the new thermostat.
Install the Baseplate
- Hold the baseplate against the wall at the marked location.
- Mark the screw holes and drill pilot holes if necessary.
- Attach the baseplate to the wall using the provided screws.
Connect the Wires
Now it’s time to connect the wires to your new thermostat. Refer to the picture you took earlier and the wiring diagram in your new thermostat’s manual. Here’s how to connect the most common wires:
- R (Red) – Connect to the R terminal on your new thermostat.
- W (White) – Connect to the W terminal.
- Y (Yellow) – Connect to the Y terminal.
- G (Green) – Connect to the G terminal.
- C (Blue) – If present, connect to the C terminal. If your new thermostat doesn’t have a C terminal, you’ll need to add a common wire or use a C-wire adapter.
Pro Tip: Use wire nuts to connect the wires to the terminals. This makes it easier to disconnect them if you need to in the future.
Secure the Thermostat
Once all the wires are connected, carefully slide the new thermostat onto the baseplate and secure it with the provided screws.
Turn the Power Back On
Slowly turn the power back on at the circuit breaker. Your new thermostat should now be active and ready to use.
Programming Your New Thermostat
Now that your new thermostat is installed, it’s time to program it. The exact process will depend on your new thermostat’s model, but here are some general steps:
- Set the date and time.
- Set the temperature you want your home to maintain.
- Create a heating and cooling schedule. This is where you’ll set different temperatures for different times of the day.
- Adjust any additional settings, like humidity control or fan settings.
Personal Experience: I set my thermostat to cool down the house just before I get home from work. It’s like walking into a perfectly chilled oasis every day.
FAQs
Q: Can I install a new thermostat myself?
A: Absolutely, with the right tools and knowledge, you can install a new thermostat yourself. But if you’re not comfortable working with electrical components, it’s always best to hire a professional.
Q: Do I need a C-wire to install a new thermostat?
A: Not all thermostats require a C-wire, but many modern ones do. If your system doesn’t have a C-wire, you can either add one or use a C-wire adapter.
Q: How do I know if my new thermostat is compatible with my Trane system?
A: Check your Trane system’s model number and consult the new thermostat’s compatibility list. Most Trane systems are compatible with a wide range of thermostats, but it’s always best to double-check.
You Did It!
Congratulations, you’ve successfully upgraded your old Trane thermostat to a new one! You’ve not only improved your home’s comfort and energy efficiency, but you’ve also saved yourself some money. If you have any questions or run into any issues, don’t hesitate to reach out to a professional. Happy upgrading!

I’m Alan William’s, the founder of SmartHeatSolution.com. I am from California, USA, I’m passionate about innovative heating technologies and their impact on our homes and businesses. With a background in electrican and home repair , I aim to make smart, energy-efficient heating accessible to everyone. When I’m not writing, I’m likely interested in all the thermostat brands and their new technnology. Thanks for stopping by!

![Honeywell Purge Light Blinking? [Causes & Solutions] 12 Honeywell Purge Light Blinking? [Causes & Solutions]](https://smartheatsolution.com/wp-content/uploads/2024/10/tinywow_2_66209135-768x432.webp)
