No Cool Option on Nest Thermostat: Troubleshooting Guide
Nest Thermostats are popular for their ease of use and energy-saving features, but occasionally users experience issues—like a missing “Cool” option.
This problem can lead to frustration, especially when cooling is essential.
Here, we will learn every possible cause and solution to help restore cooling functionality on your Nest Thermostat.
Why Is the Cool Option Missing on My Nest Thermostat?
Several factors could cause the “Cool” option to be missing. The thermostat might not recognize your cooling system, there could be issues with wiring, or settings may have been inadvertently changed.
Understanding these causes is the first step toward resolving the issue.
Common Causes for No Cool Option on Nest Thermostat
1. Compatibility Issues
Nest Thermostats are compatible with a variety of HVAC systems, but there are limits. Incompatible systems may not support certain functions, like cooling. Verify that your cooling system is compatible by consulting the Nest Compatibility Checker.
2. Wiring Problems
A common reason for missing options is improper wiring. If wires aren’t correctly connected to the thermostat, the device may not detect all HVAC components, like the air conditioner.
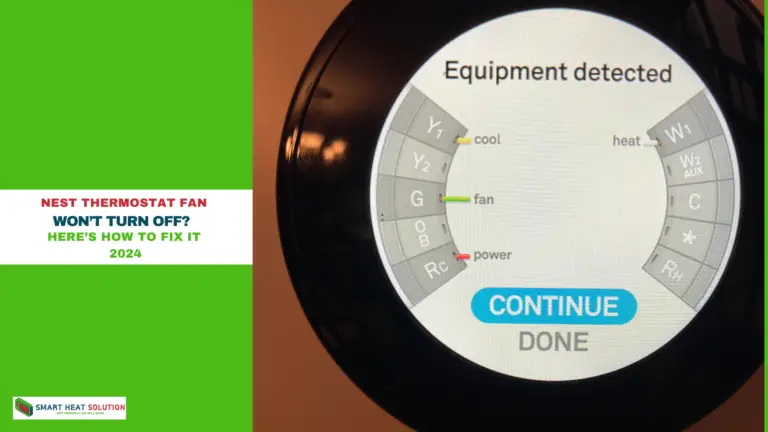
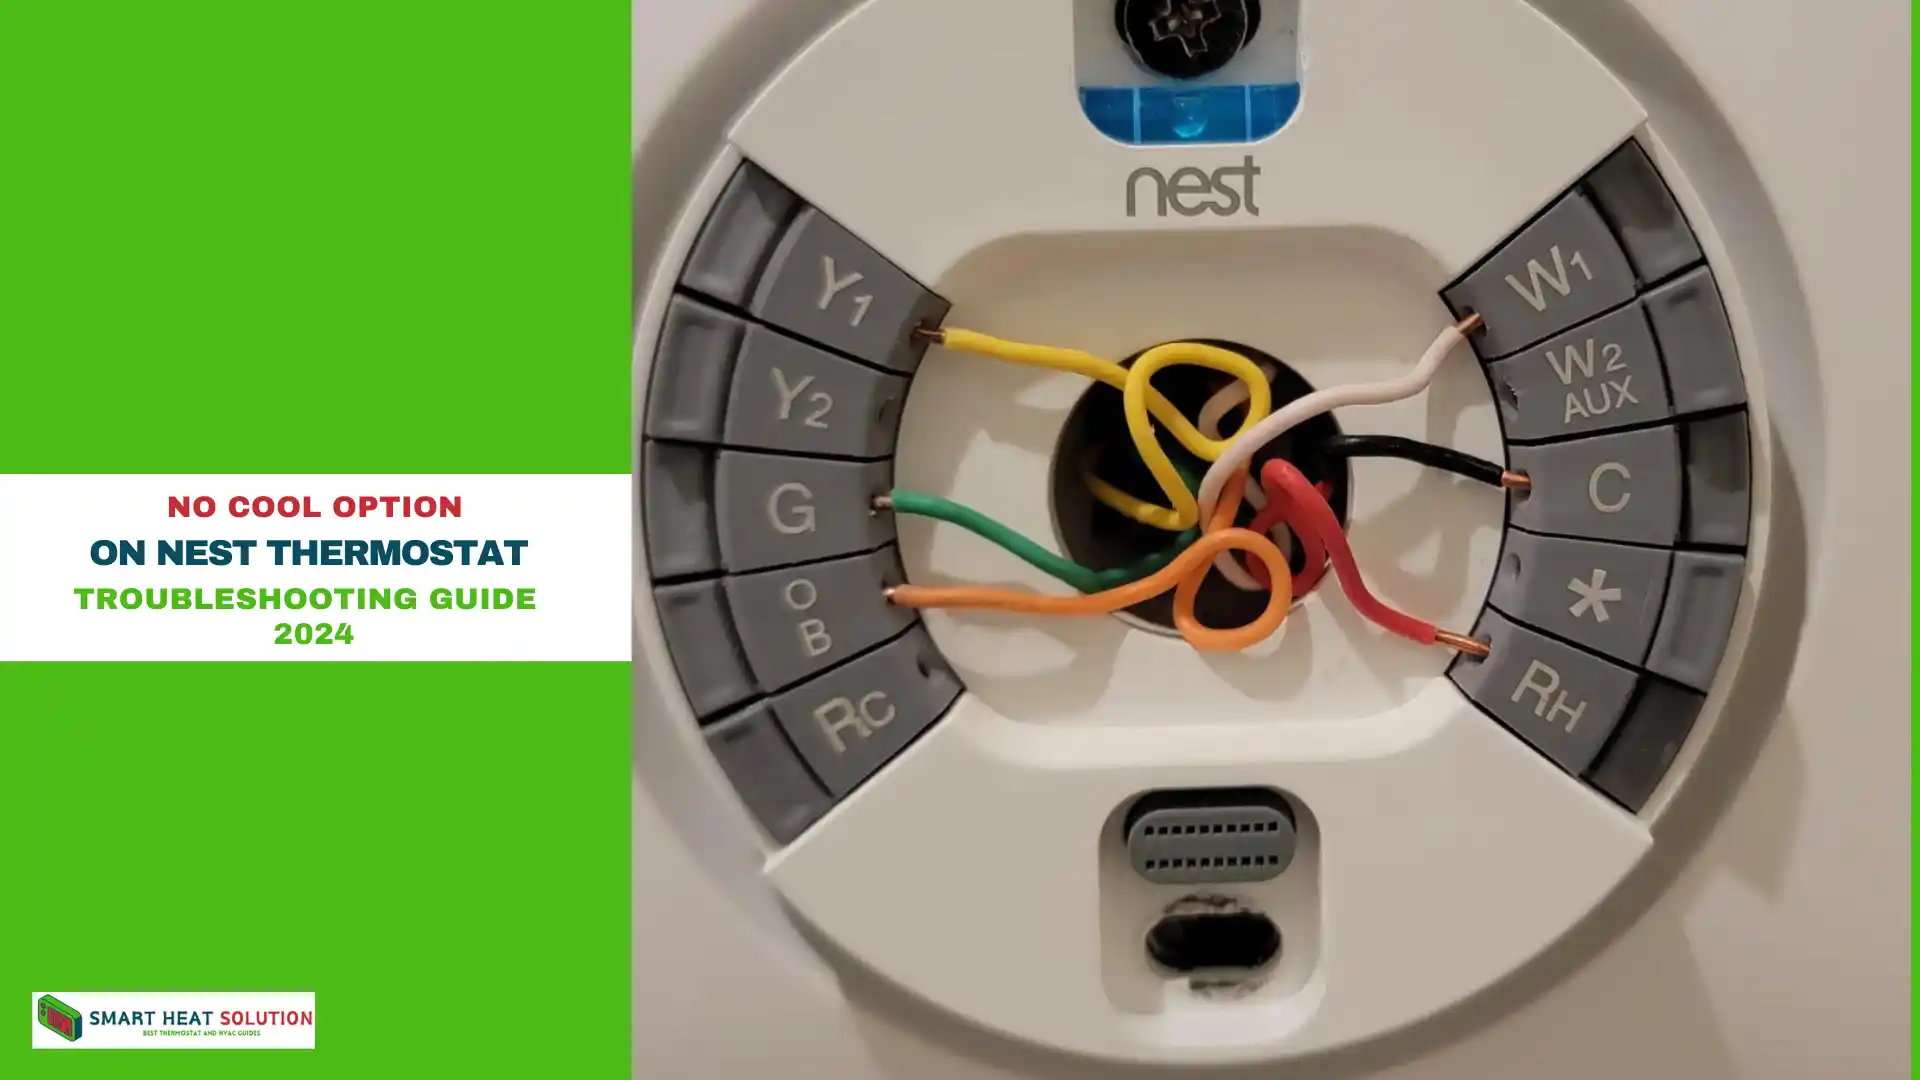
- Check wiring connections: The Y1 terminal on your Nest Thermostat typically connects to the cooling wire. Ensure it’s securely attached.
- Check for broken or loose wires: Carefully inspect each wire for signs of wear or disconnection.
3. Incorrect HVAC Settings
Nest Thermostats rely on initial setup settings to detect connected systems. Sometimes, the thermostat might be set up for heating-only systems, which hides the “Cool” option.
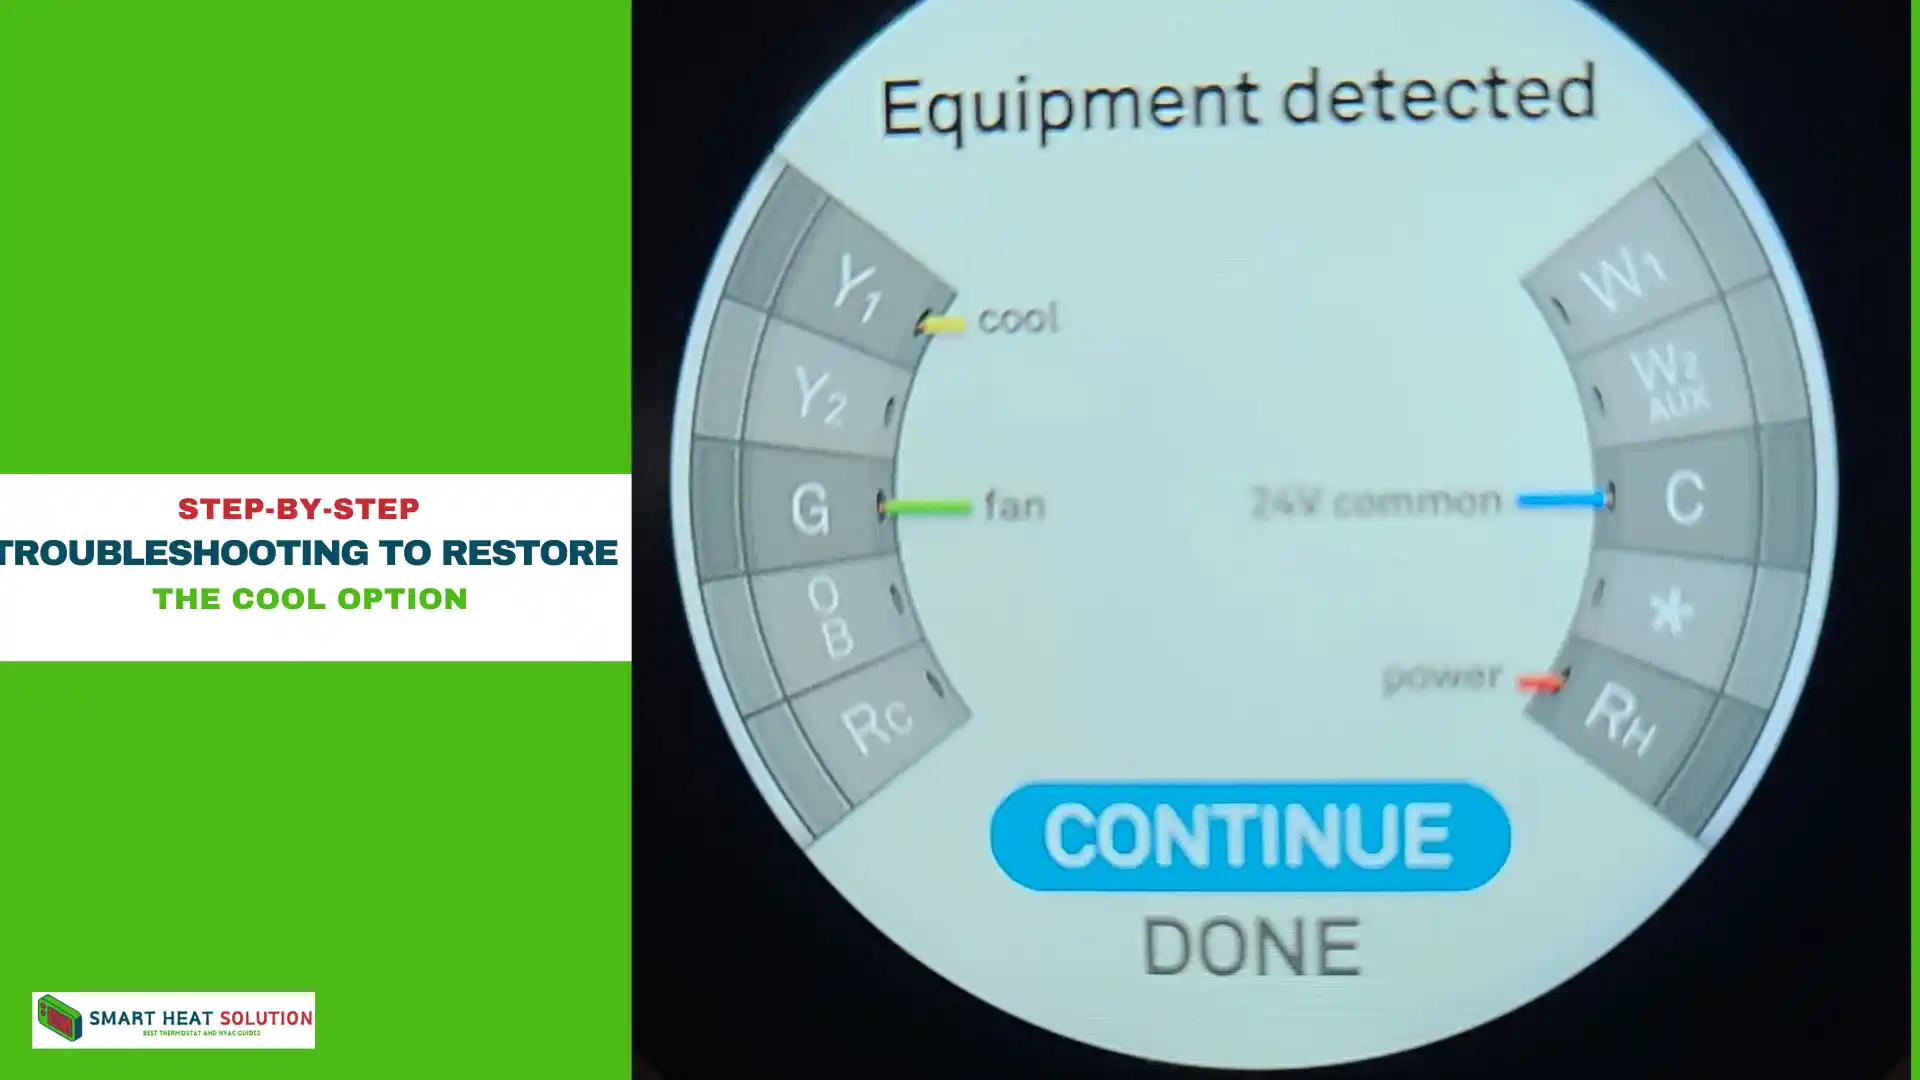
- Go to Settings > Equipment on the Nest display.
- Confirm that both Heating and Cooling are listed. If Cooling is missing, select Redo to reconfigure.
4. Low Power Issues
The Nest Thermostat often uses a power-sharing feature, drawing power from heating or cooling wires, but this can sometimes be insufficient. If your thermostat doesn’t get enough power, it may disable certain functions.
- Install a common wire (C-wire): If available, connecting a C-wire provides a dedicated power source, stabilizing the thermostat and ensuring consistent functionality.
Step-by-Step Troubleshooting to Restore the Cool Option
Step 1: Confirm Your HVAC System Type
Nest Thermostats are designed for forced air, radiant, and geothermal systems. If your system is unconventional, it might require specific settings or even be incompatible.
- Check your HVAC system model: Look at your HVAC manual or consult a professional to verify compatibility.
- Set the thermostat for the correct HVAC type: Go to Settings > Equipment and confirm the selected system type.
Step 2: Verify and Reconfigure Wiring
To ensure correct wiring, follow these steps:
- Turn off power to the thermostat: For safety, turn off power at your circuit breaker before handling wires.
- Detach the thermostat faceplate: Carefully pull the faceplate to reveal the wiring panel.
- Check Y1 terminal: Confirm that the wire connected to the Y1 terminal is securely attached and in good condition.
- Reconnect and reboot: After reconnecting any loose wires, reboot your Nest Thermostat to detect changes.
Step 3: Reconfigure Settings in the Nest App
Sometimes settings in the Nest app don’t sync correctly with the thermostat. Try reconfiguring your system settings through the app:
- Open the Nest app on your phone.
- Go to Settings > Equipment and select Redo to walk through setup.
- Confirm both Heating and Cooling options are selected.
Step 4: Check Power Supply and Consider Adding a C-Wire
If power issues are suspected, here’s what to do:
- Inspect power levels in Technical Info > Power: Look for a Voc (voltage open circuit) of 29V or higher.
- Install a C-Wire adapter if needed: For systems without a dedicated C-wire, an adapter can be installed to supply stable power to the thermostat.
Step 5: Contact a Professional if Necessary
If these steps don’t resolve the issue, contact a professional HVAC technician. They can verify compatibility, troubleshoot wiring in-depth, and suggest alternatives if your system is incompatible with Nest’s cooling functionality.
Additional Troubleshooting Tips
Restarting the Thermostat
Restarting can refresh connections and reset minor settings issues.
- Press and hold the thermostat ring for 10 seconds.
- Release when the screen turns off, and allow it to restart.
Factory Reset (Last Resort)
Factory resets should only be attempted after all other options are exhausted, as this clears all settings:
- Go to Settings > Reset on the thermostat display.
- Select All Settings and confirm the reset.
Frequently Asked Questions
ow do I know if my thermostat has a C-wire?
Check the thermostat’s wiring panel for a wire connected to the C terminal. If a wire is connected, you have a C-wire; if not, a C-wire adapter may be needed for stable power.
Can I install a Nest Thermostat if my HVAC system lacks a cooling feature?
Yes, you can install a Nest Thermostat for heating-only systems. However, if cooling isn’t part of your HVAC system, the “Cool” option won’t be available.
Why does my Nest Thermostat lose power intermittently?
If your thermostat frequently loses power, it could be due to insufficient voltage from power-sharing configurations. Installing a C-wire provides a direct power source, eliminating power dropouts.
Conclusion
A missing “Cool” option on your Nest Thermostat can stem from various issues, from compatibility concerns to power shortages. By following this guide, you should be able to restore cooling functionality or, if needed, get in touch with a professional. This step-by-step troubleshooting ensures your thermostat works efficiently, keeping your home comfortable year-round.
Use these tips to optimize your thermostat’s setup and enjoy seamless, hassle-free control over your HVAC system.

I’m Alan William’s, the founder of SmartHeatSolution.com. I am from California, USA, I’m passionate about innovative heating technologies and their impact on our homes and businesses. With a background in electrican and home repair , I aim to make smart, energy-efficient heating accessible to everyone. When I’m not writing, I’m likely interested in all the thermostat brands and their new technnology. Thanks for stopping by!

