How to Fix White Rodgers Thermostat Blinking Snowflake Issue: A Step-by-Step Guide
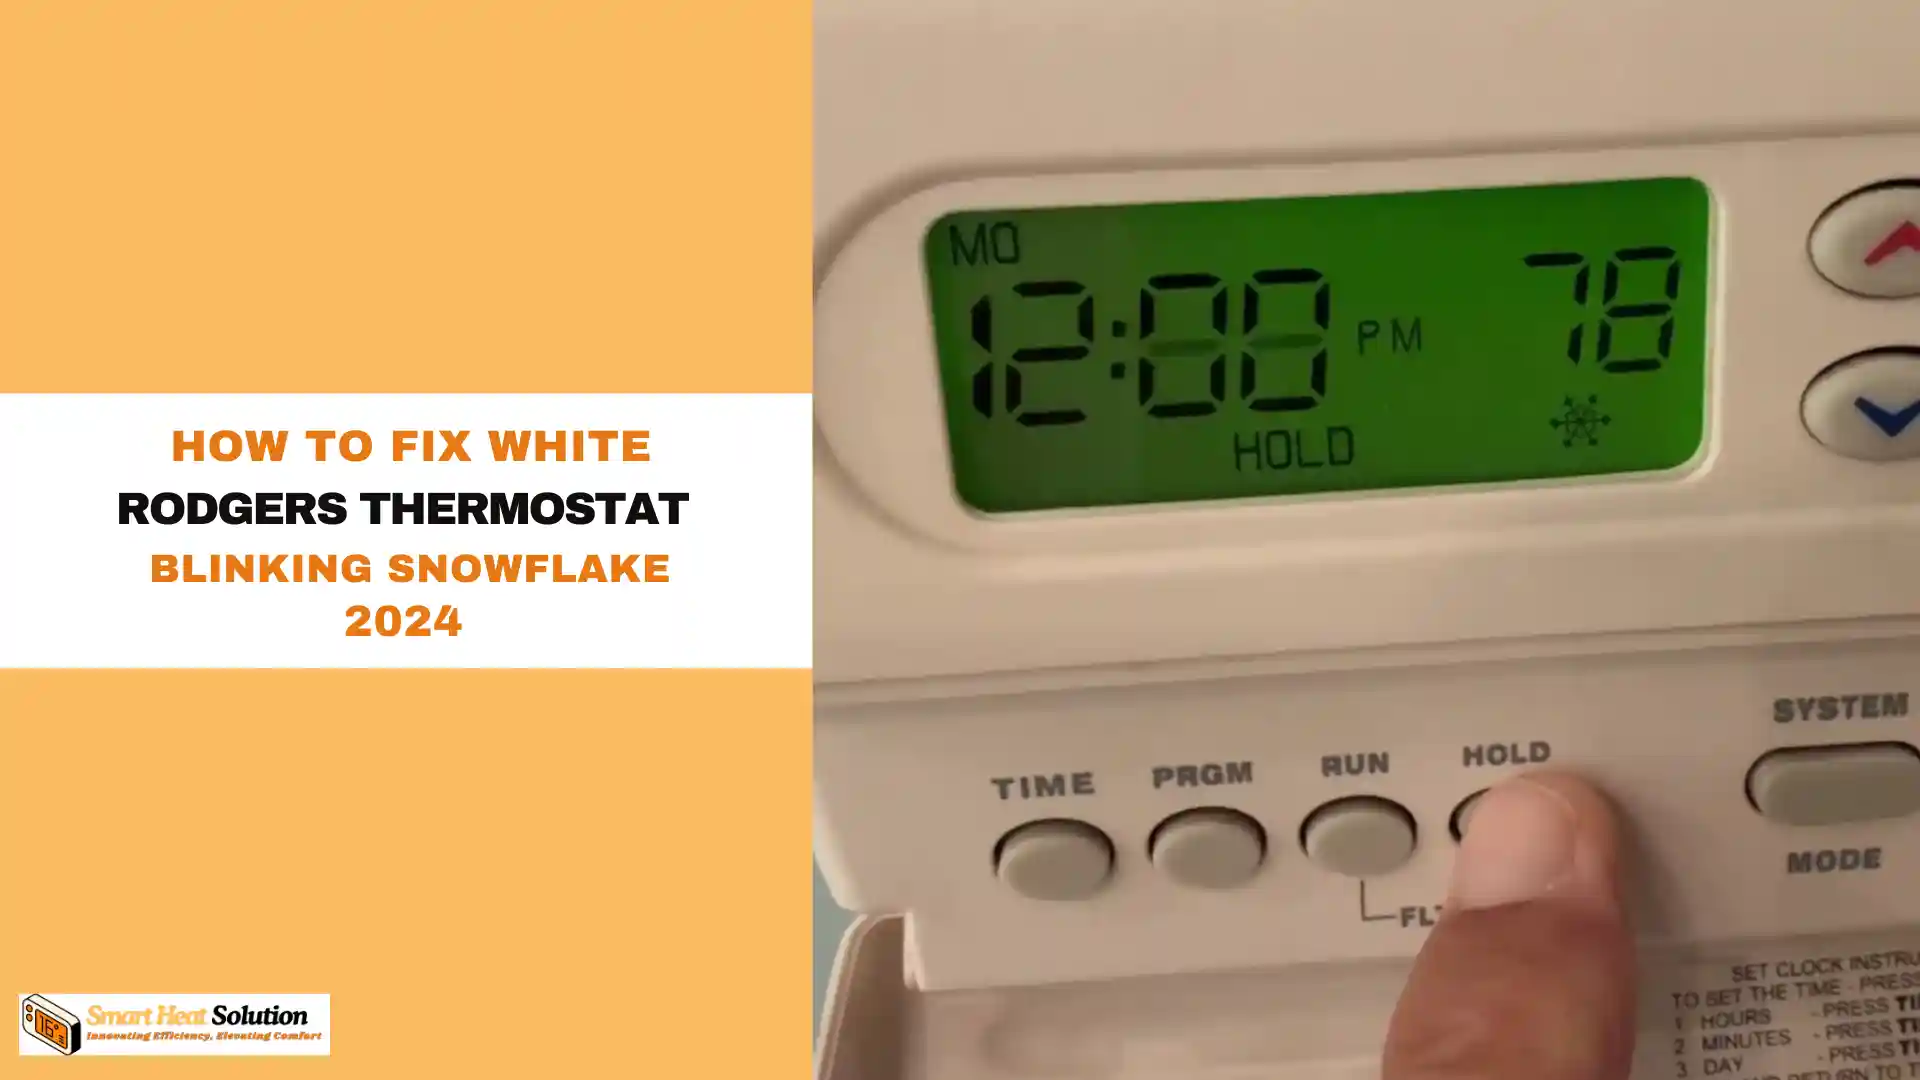
Is your White-Rodgers thermostat blinking a snowflake? This common issue often signals problems with your HVAC system, leaving you feeling uncomfortable when the weather changes.
The uncertainty of what it means can be stressful, especially with worries about costly repairs and inefficient energy use. But don’t panic!
With over 15 years in the field, I can assure you that understanding this warning light is key.
In this article, I’ll guide you through the reasons behind the blinking snowflake and provide practical steps to resolve the issue, helping you restore comfort in your home quickly and easily.
What Does the Blinking Snowflake Symbol Mean?
The blinking snowflake is a feature on White Rodgers thermostats that signals a temporary delay in the cooling system.
This cooling delay is built into many thermostats to protect the compressor. After the HVAC system has cycled off, the thermostat will activate a 5-minute delay before turning the compressor back on.
Key Points to Understand:
- The delay protects the compressor by giving it time to depressurize.
- It’s a common feature across many thermostat models.
- If the blinking continues for more than 5 minutes, there could be a problem requiring further investigation.
Common Reasons for a Blinking Snowflake on White Rodgers Thermostat
1. Compressor Protection Mode
As mentioned earlier, the blinking snowflake often indicates that the system is in compressor protection mode. This usually happens after a recent cooling cycle and ensures that the compressor doesn’t experience undue stress.
- Solution: Wait for 5 minutes. The snowflake should stop blinking after this period. If it doesn’t, there may be a deeper issue with the system.
2. Thermostat Settings Error
Sometimes, the snowflake blinks due to improper settings on the thermostat, particularly when the settings don’t match the cooling requirements of your home.
- Solution: Review the settings in your thermostat’s manual. Ensure that the mode is set to “cool” if you want air conditioning, and that the temperature settings are appropriate for your comfort.
3. Low Refrigerant Levels
If your system is running low on refrigerant, it may struggle to cool your home effectively, causing the thermostat to enter a protection mode and display the blinking snowflake.
- Solution: Contact a licensed HVAC technician to check refrigerant levels. If they’re low, the technician can recharge your system and fix any potential leaks.
4. Frozen Evaporator Coils
When the evaporator coils in your air conditioning unit freeze, the system can’t function properly. This could trigger the blinking snowflake as the thermostat enters a delay mode to prevent further damage.
- Solution: Turn off the system and let the coils thaw. This may take several hours. If the coils continue to freeze, you should contact a professional to inspect the unit for potential issues like dirty air filters, blocked airflow, or refrigerant leaks.
5. Malfunctioning Thermostat or HVAC System
In some cases, the thermostat itself or the HVAC system could be malfunctioning, leading to a persistent blinking snowflake.
- Solution: Reset your thermostat by turning it off and then back on after a few minutes. If the problem persists, consider replacing the thermostat or contacting an HVAC professional to diagnose the issue.
Step-by-Step HVAC Troubleshooting Process
1. Wait for the System Delay to Pass
- Duration: 3 to 5 minutes.
- Action: Give the system time to reset. Be patient—it’s designed to take a few minutes to kick back in.
2. Check the Thermostat Settings
- Make sure the thermostat is set to “COOL” mode.
- Ensure the set temperature is lower than the room’s current temperature.
- Verify the fan is set to either “AUTO” or “ON”, depending on your preference.
3. Inspect the Circuit Breaker
- Head to your home’s circuit breaker panel.
- Find the breaker labeled for the HVAC system.
- If it’s tripped, reset it by switching it off and then back on.
4. Check the Outdoor Unit
- Confirm the unit is receiving power.
- Look for any visible damage or obstructions around the unit.
- Listen for any strange noises—they could signal a problem.
5. Clean or Replace the Air Filter
- Locate the system’s air filter.
- If it’s dirty, either clean or replace it based on the manufacturer’s instructions.
- A clean filter ensures better airflow and improves system efficiency.
6. Reset the Thermostat
- Turn off the thermostat.
- Wait for 30 seconds.
- Turn it back on and set it to your desired cooling settings.
7. Check for Frozen Evaporator Coils
- Turn off the AC and set the fan to “ON”.
- Let the system run for 2-3 hours to thaw any ice buildup.
- If the issue persists, it’s time to call a professional HVAC technician.
How to Prevent the Blinking Snowflake on Your HVAC System
The blinking snowflake symbol on your thermostat can be a source of frustration, but understanding how to prevent it can save you time and money. Here’s a comprehensive guide to keeping your HVAC system in top shape and avoiding those annoying blinking alerts.
1. Regular HVAC Maintenance
Regular maintenance is crucial for preventing issues like frozen coils, low refrigerant levels, and airflow problems that trigger the blinking snowflake warning. Here are key maintenance tips:
- Change Air Filters: Replace your air filters every 1 to 3 months to maintain optimal airflow and system efficiency.
- Schedule Annual Inspections: Have an HVAC technician conduct yearly inspections. They will check refrigerant levels, clean coils, and ensure that all critical components are functioning properly.
2. Set Your Thermostat Correctly
Proper thermostat settings are vital for efficient cooling. During the hot months, ensure your thermostat is set to “cool” and adjusted to a comfortable temperature. This helps prevent unnecessary strain on your HVAC system.
3. Upgrade to a Smart Thermostat
If you frequently experience thermostat malfunctions or delays, consider upgrading to a smart thermostat. These modern devices provide precise control over your HVAC system, can self-diagnose problems, and offer insights into energy usage, helping you stay comfortable while saving on energy bills.
Advanced Troubleshooting Steps
If routine maintenance and proper settings don’t resolve the blinking snowflake issue, you may need to conduct more advanced troubleshooting.
1. Inspect Wiring Connections
- Turn Off Power: Start by shutting off power to the thermostat at the circuit breaker.
- Remove the Thermostat: Detach it from the wall plate.
- Check Wires: Look for any loose or damaged wires and ensure all connections are secure and free of corrosion.
2. Verify Compressor Functionality
Listen closely when the cooling cycle starts. If the compressor doesn’t activate, there might be an issue with the compressor itself or its electrical supply, requiring further investigation.
3. Check Refrigerant Levels
Low refrigerant can lead to system malfunctions, which should be handled by professionals:
- Contact a Licensed HVAC Technician: Have them assess refrigerant levels and recharge the system if necessary.
When to Call a Professional
While many HVAC issues can be addressed through DIY methods, some situations demand expert assistance. Reach out to an HVAC professional if:
- The blinking snowflake continues despite your troubleshooting efforts.
- You hear unusual noises, smell strange odors, or notice leaks.
- Your system fails to cool effectively, even while running.
- You feel uncomfortable performing any troubleshooting steps yourself.
Preventive Maintenance Tips
To avoid future issues with your HVAC system and White-Rodgers thermostat, consider these preventive measures:
- Schedule Annual Maintenance: Regular professional check-ups are key to a well-functioning system.
- Maintain Air Filters: Keep them clean or replace them every 1 to 3 months.
- Clear Outdoor Units: Ensure outdoor units are free of debris and vegetation for optimal airflow.
- Monitor System Performance: Stay alert for any minor issues and address them promptly to prevent larger problems.
Conclusion
A blinking snowflake on your White-Rodgers thermostat often signifies a minor issue that you can troubleshoot yourself. By following this guide, you can diagnose and potentially resolve the problem, saving you time and costly service fees. However, prioritize safety, and don’t hesitate to call a professional if you encounter any uncertainty with your HVAC system. Taking proactive steps now will help you maintain a comfortable home year-round.

I’m Alan William’s, the founder of SmartHeatSolution.com. I am from California, USA, I’m passionate about innovative heating technologies and their impact on our homes and businesses. With a background in electrican and home repair , I aim to make smart, energy-efficient heating accessible to everyone. When I’m not writing, I’m likely interested in all the thermostat brands and their new technnology. Thanks for stopping by!

