White Rodgers Thermostat Wiring to Nest: 1, 2, 3, and 4 Wire
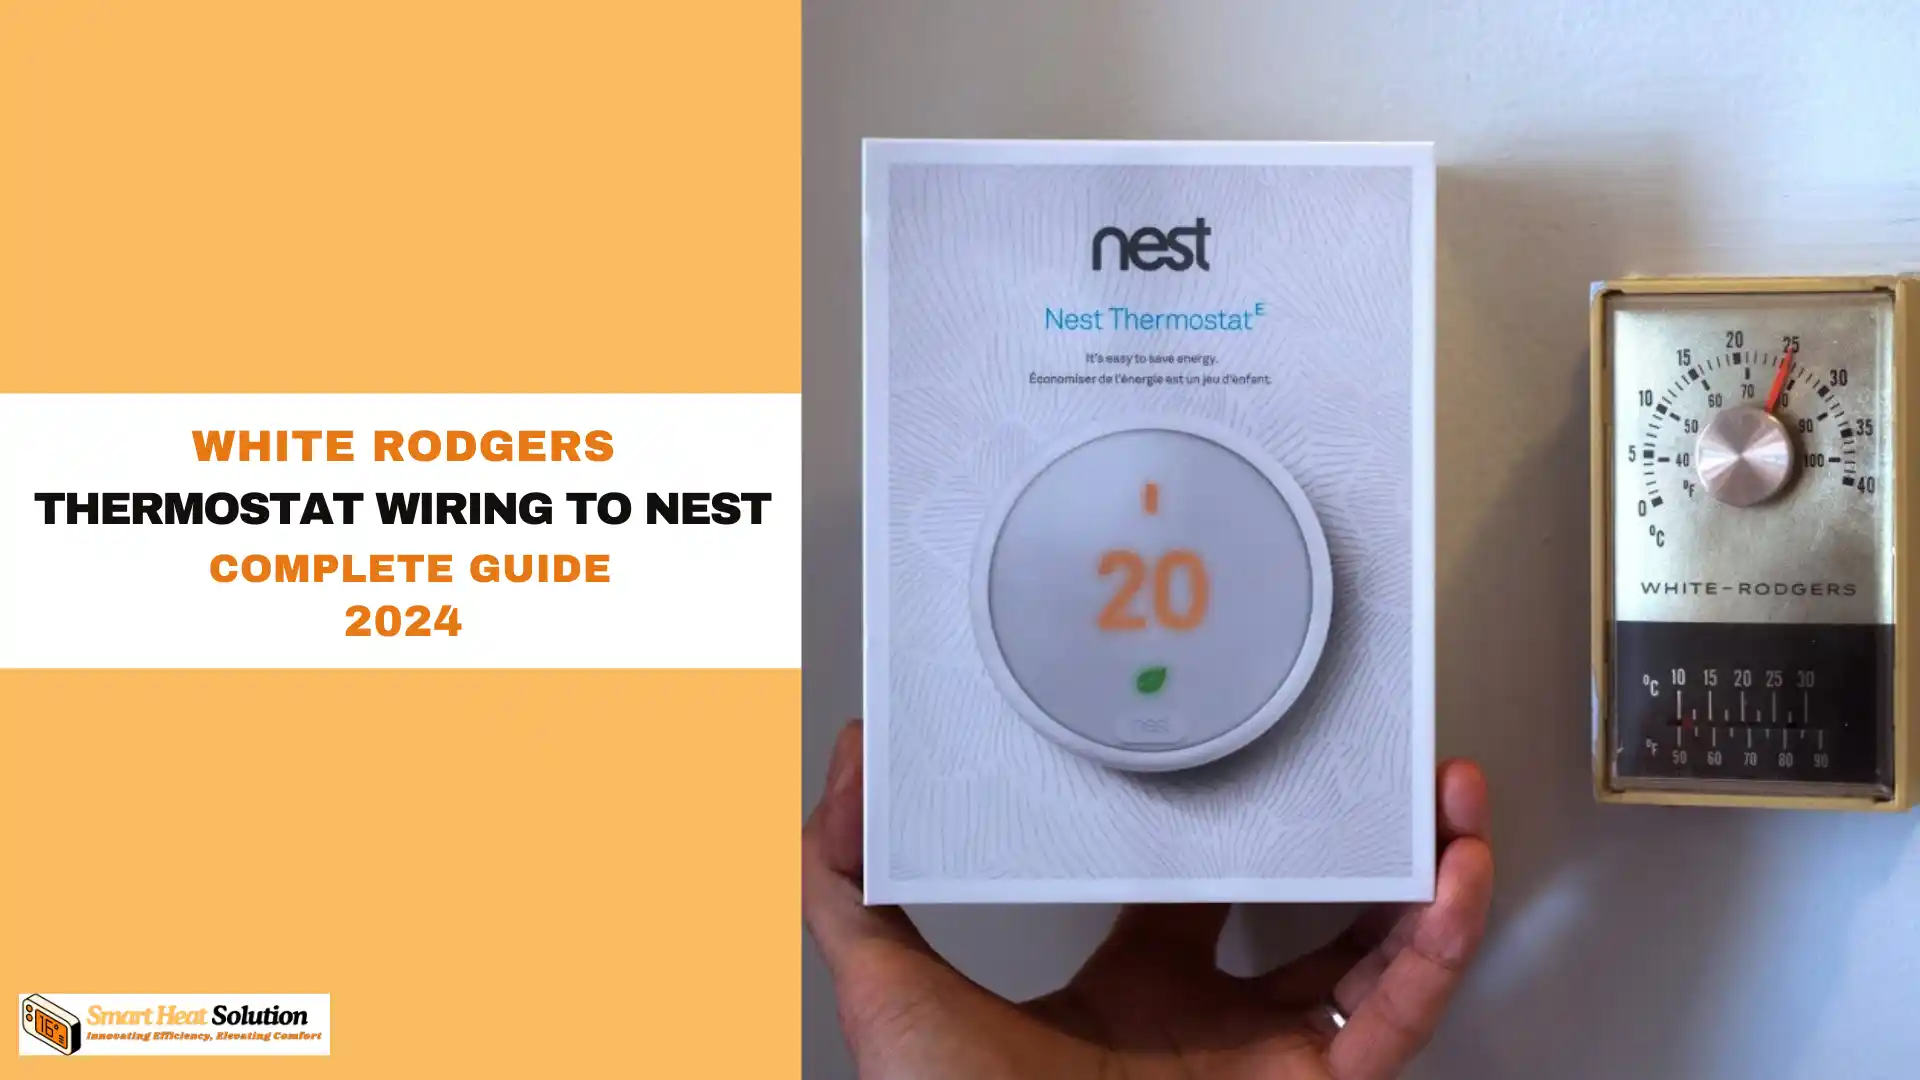
Are you looking to upgrade your home’s thermostat system to a more energy-efficient and smarter option like the Nest thermostat?
Making the switch from a White Rodgers thermostat to a Nest can seem daunting, but fear not! In this comprehensive guide, we will walk you through the complete process of wiring your White Rodgers thermostat to a Nest thermostat.
From understanding the wiring diagram to troubleshooting common issues, this article will equip you with the knowledge and confidence to successfully make the transition.
So, get ready to elevate your home’s comfort and efficiency by mastering the art of White Rodgers thermostat wiring to Nest!
Understanding the Difference: White Rodgers vs. Nest
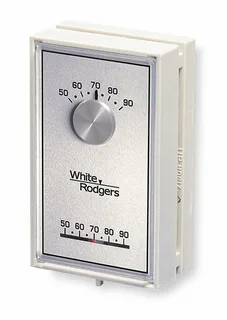
White Rodgers Thermostats: Known for their traditional designs, White Rodgers thermostats are typically non-programmable or basic programmable models.
They rely on simple wiring configurations with standard functions like heating and cooling.
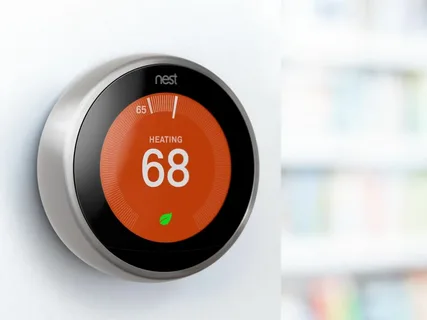
Google Nest: Nest thermostats, on the other hand, are smart devices that automatically adjust based on your schedule and habits. These require specific wiring to communicate with your HVAC system, especially with the need for continuous power via the C-wire (common wire).
Why Choose Nest?
Before we dive into the wiring, let’s discuss why you might want to switch to a Nest thermostat. Smart thermostats come with several benefits:
- Energy Savings: Adjust your heating and cooling based on your schedule so you’re not wasting energy when you’re not home.
- Remote Control: Control your thermostat from your smartphone, no matter where you are.
- Learning Features: Nest can learn your habits and adapt to your preferences over time.
- Energy Reports: Get insights into your energy consumption, helping you save even more.
Now that you’re convinced, let’s look at the wiring process!
Tools You’ll Need
- A screwdriver
- A drill (if necessary)
- Wire stripper
- Nest Base Plate
- Voltage Meter (to ensure safety)
- Level (for mounting)
Preparing for Installation
Safety First! Before you start handling any wires, switch off the power to your HVAC system. This can be done at your circuit breaker. Don’t skip this step!
Once that’s done, follow these steps to prepare for your installation:
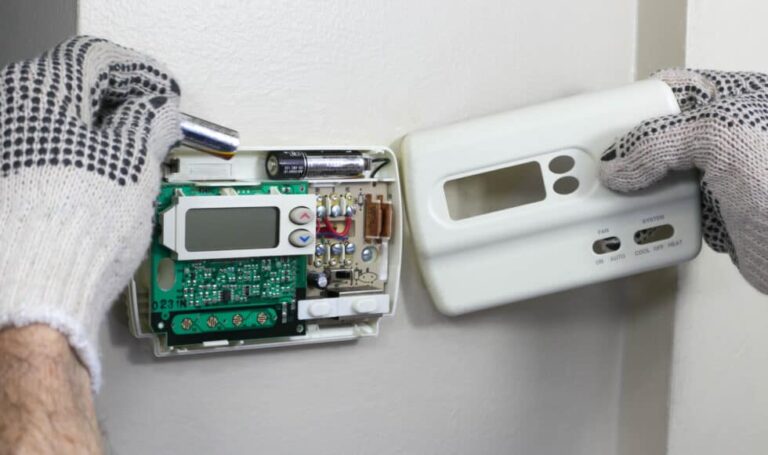
- Remove Your Old Thermostat: Take off the faceplate of your White Rodgers thermostat to reveal the wiring.
- Label the Wires: Some thermostats have different colored wires, and it’s essential to label them. Use masking tape and write down the terminal designations for easy reference when connecting to your Nest.
Disconnecting Old Thermostat Wiring
Carefully disconnect the wires attached to your old thermostat. Make sure to take note of where each wire was connected. If desired, snap a pictorial reference for future use.
How to Wire Your Nest Thermostat
Installing a Nest thermostat is a great way to increase energy efficiency and optimize your home’s heating and cooling system. Whether you’re upgrading an existing thermostat or replacing an old one, the process is relatively simple.
Step 1: Prepare for Installation
Before you start, make sure to turn off power to your HVAC system. This step is crucial for your safety to prevent any electrical accidents while working with the wiring. You can do this by turning off the breaker connected to your HVAC system.
Step 2: Remove Your Existing Thermostat
If you’re replacing an older thermostat, carefully remove it from the wall. Unscrew the mounting plate and expose the existing wiring.
Before disconnecting anything, take a photo or mark the wires to remember their respective positions. This will help when connecting them to your new Nest thermostat.
Step 3: Label and Identify the Wires
Your existing thermostat should have several wires, each serving a specific purpose. Common wire labels include:
- R (Red) – Powers the system
- W (White) – Controls heating
- Y (Yellow) – Controls cooling
- G (Green) – Controls the fan
- C (Blue) – Common wire (if present)
If your current thermostat has a C-wire, you’re good to go. However, if it doesn’t, you may need to use a workaround. We’ll discuss options for that in the next steps.
Step 4: Determine if You Have a C-Wire
The C-wire (common wire) is essential for providing continuous power to your Nest thermostat.
If your existing thermostat has a C-wire, you can directly connect it to your Nest. If it doesn’t, you have three options:
- Use a C-Wire Adapter: A simple device that allows you to connect the Nest without needing to install a new wire.
- Install a New C-Wire: This solution involves running a new wire from your HVAC system to the thermostat, providing the necessary power.
- Use the Nest Power Connector: Google Nest offers a power connector kit specifically designed for homes without a C-wire. This provides an easy, hassle-free solution.
Step 5: Connect the Wires to Your Nest Thermostat
Once you’ve labeled the wires and ensured that you have the correct connections, you can begin wiring your Nest thermostat. Follow this general layout:
- R wire connects to the R terminal.
- W wire connects to the W1 terminal for heating.
- Y wire connects to the Y1 terminal for cooling.
- G wire connects to the G terminal for fan control.
- If you have a C-wire, connect it to the C terminal for continuous power.
Ensure that each wire is securely placed into the corresponding terminal, and avoid any loose connections. Loose wires can cause malfunctions or erratic behavior in your HVAC system.
Step 6: Secure the Wires and Mount the Nest Base
Once all the wires are connected to the proper terminals, you can proceed to secure the wiring. Ensure that there is minimal exposed copper to prevent any potential safety hazards.
Next, position the Nest base plate on the wall. Use a level to ensure it’s perfectly straight. Once in place, screw the base plate into the wall securely.
Step 7: Attach the Nest Display
With the base plate in place and the wiring connected, it’s time to attach the Nest display. Simply snap the display onto the base, ensuring that it is firmly in place.
Step 8: Power Up the System
Once everything is securely connected and mounted, restore power to your HVAC system by turning the breaker back on. You’ll see the Nest display light up, ready for the next steps.
Step 9: Complete the Nest Thermostat Setup
Now that the Nest is powered up, follow the on-screen instructions to complete the setup. You will need to:
- Choose your preferred language.
- Connect to your home Wi-Fi network.
- Set up access to the Nest app on your smartphone for remote control.
Once you’ve completed these steps, your Nest thermostat will be ready to manage your home’s heating and cooling systems automatically.
Step 10: Test the System
After setup is complete, it’s important to test your system to ensure everything is functioning as expected. Run both the heating and cooling cycles and make sure the fan is working correctly.
You should also verify that the Nest is adjusting the temperature based on your settings. If you notice any issues, double-check your wiring connections. Loose or incorrect wiring could be the cause of any malfunction.
White rodgers thermostat wiring to nest 2,3, and 4 wire
When connecting a White Rodgers thermostat to a Nest thermostat, the number of wires involved can vary depending on the existing system and the model of your White Rodgers thermostat. Below are instructions for wiring a White Rodgers thermostat to a Nest thermostat for 4-wire, 3-wire, and 2-wire setups.
1. White Rodgers Thermostat Wiring to Nest (4-Wire Setup)
In a 4-wire configuration, you typically have the following four wires connected to the thermostat:
- R (Red): This is the power wire, often connected to the “Rc” or “Rh” terminal on the Nest.
- C (Blue or Black): This is the common wire, which is necessary to power the Nest thermostat continuously.
- Y (Yellow): This wire is used to control the air conditioning system.
- W (White): This wire is used to control the heating system (often for furnace control).
Wiring the Nest (4-Wire):
- R (Red) connects to Rc (or Rh) on the Nest.
- C (Blue or Black) connects to C on the Nest.
- Y (Yellow) connects to Y1 on the Nest.
- W (White) connects to W1 on the Nest.
Ensure that each wire is securely inserted into the correct terminal on the Nest. After wiring, follow the Nest setup process for your heating and cooling system.
2. White Rodgers Thermostat Wiring to Nest (3-Wire Setup)
In a 3-wire configuration, you might encounter the following setup:
- R (Red): Power wire for heating and cooling (connected to Rc or Rh).
- C (Blue or Black): Common wire to complete the circuit (connected to C).
- W (White): Heat signal wire (connected to W1).
- The Y wire (Yellow) might be missing, indicating no cooling system or an integrated HVAC system without separate control for cooling.
Wiring the Nest (3-Wire):
- R (Red) connects to Rc (or Rh) on the Nest.
- C (Blue or Black) connects to C on the Nest.
- W (White) connects to W1 on the Nest.
Since there is no separate cooling wire (Y), your system will only control heating, and your Nest will only manage the heating functionality. Ensure that your HVAC system doesn’t require cooling to operate properly.
3. White Rodgers Thermostat Wiring to Nest (2-Wire Setup)
In a 2-wire configuration, typically used for heating-only systems or older systems, you will see:
- R (Red): Power wire for heating.
- W (White): Heat signal wire.
There is no cooling wire (Y), and no common wire (C) is present.
Wiring the Nest (2-Wire):
- R (Red) connects to Rc (or Rh) on the Nest.
- W (White) connects to W1 on the Nest.
Important Note: The Nest may not be powered correctly in a 2-wire setup without a C wire. If you experience power issues, you might need to install a C wire adapter or Power Extender Kit (PEK) for the Nest to work reliably.
Additional Tips for Installing Your Nest Thermostat
Use a Level for Accurate Mounting: A level ensures your Nest is mounted straight on the wall, which not only looks better but also ensures optimal operation of the thermostat.
Labeling Wires is Key: Properly labeling your wires is essential for a smooth installation. If your existing thermostat has labeled wires, take note of these labels and match them to the Nest’s corresponding terminals.
Ensure Compatibility: Before purchasing a Nest thermostat, ensure that it is compatible with your HVAC system. Nest thermostats are generally compatible with most systems, but it’s always best to double-check, especially if you have a unique setup.
Consider Professional Installation: If you’re uncomfortable working with electrical wiring, consider hiring a professional to install your Nest thermostat. It’s a quick job for experts and ensures everything is done safely and correctly.
Troubleshooting Common Issues
System Not Responding
If your HVAC system doesn’t turn on after installing the Nest thermostat, it could be due to incorrect wiring or a lack of power to the thermostat. Here are common fixes:
- Check Wiring: Make sure all wires are securely connected and in the correct terminals.
- C-Wire Issues: Ensure the C-wire is properly connected. If you’re using an adapter, double-check that it’s installed correctly.
- Blown Fuse: Check your HVAC system for blown fuses, especially if the power went out during installation.
HVAC System Runs Continuously
If your HVAC system continues running after the installation, you may have a shorted wire or incorrect connection. Double-check your wiring and consult the Nest installation guide.
Temperature Not Adjusting Correctly
This issue is often due to incorrect settings within the Nest app. Ensure that you’ve set the correct heating and cooling ranges and that your thermostat is connected to Wi-Fi to receive updates.
Conclusion
Upgrading from a White Rodgers thermostat to a Nest can greatly improve the efficiency and control of your home’s HVAC system. Following these steps will ensure a smooth installation, but always double-check wiring to avoid issues.
Once installed, the Nest thermostat’s smart capabilities will automatically learn your preferences and adjust the temperature accordingly, making it a worthy upgrade.
For further assistance, consult the official Nest installation guide or reach out to a professional HVAC technician for help.
Frequently Asked Questions (FAQs)
Will this work with my HVAC system?
The Nest works with most 24V systems. Check the compatibility of your HVAC system on the Nest website or in the app.
Do I need a C wire for Nest?
While many installations do require a C wire for power, the Nest can often work without it, thanks to its built-in battery. However, using a C wire is recommended for a more stable connection.
Can I remove my old thermostat without turning off the power?
It’s highly advised to turn off the power for safety before working with electrical components.
What if my old wires are different colors?
Wire colors can vary. If you’re unsure, consult the manufacturer’s guide for your specific Old Thermostat Model.

I’m Alan William’s, the founder of SmartHeatSolution.com. I am from California, USA, I’m passionate about innovative heating technologies and their impact on our homes and businesses. With a background in electrican and home repair , I aim to make smart, energy-efficient heating accessible to everyone. When I’m not writing, I’m likely interested in all the thermostat brands and their new technnology. Thanks for stopping by!

